Page 4 - Harley Tips

Road Glide LED Headlight Install from HOGWORKZ® (2015-2024)
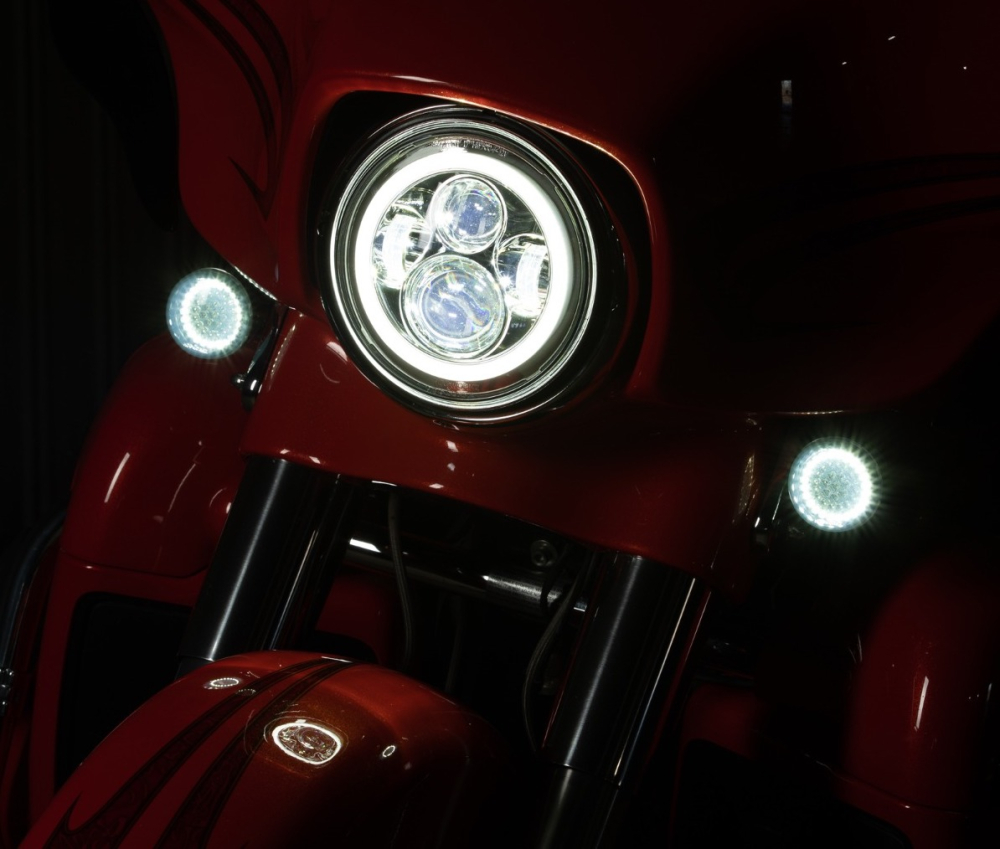
In this video & blog post we’ll show you how to install a HOGWORKZ® Dual Visionz™ LED Headlight on a Harley-Davidson® Road Glide motorcycle. The HOGWORKZ® Dual Visionz projection LED headlight fits 2015 & newer Road Glide models.
Cut through the night with HOGWORKZ® '15+ Road Glide Dual Visionz™ LED Headlight. This plug and play headlight will get you noticed! Increase visibility, safety, and style with a pure white road tested LED setup. Don't forget to add our HOGWORKZ® LED Vent Turn Signals/DRL for additional coverage!
Buzz Free Anti-Interference Design There is no shortage of cheap LED solutions, but saving a penny might net you a buzzing headlight that cripples your bike's radio signal. HOGWORKZ® specifically designed their LED Headlights to use anti-interference electronics and passive (no hum) cooling. Gain the full advantage of an LED Headlight without losing a radio signal.

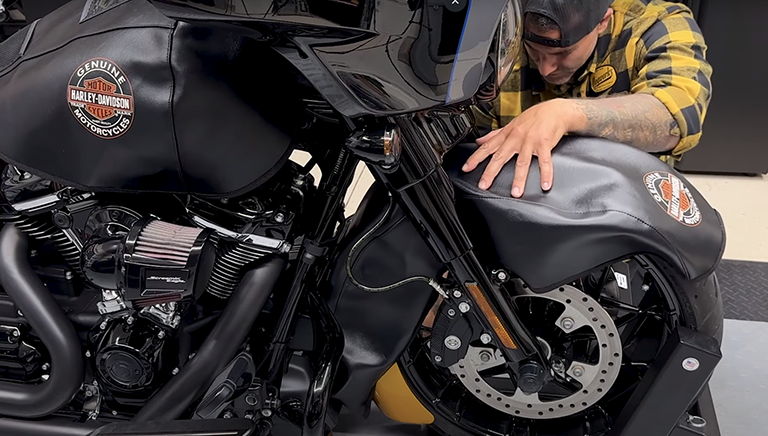
1. Protect Your Fender:
- Cover your front fender


Install Slimz Saddlebag Turn Signals With Ease!

Easily Install HOGWORKZ® Highway Peg Crash Bar for 18+ Harley® Softail


Trade the daily grind for the open road! Join us as we dive into the world of motorcycle riding with Raider World. With a passion ignited by childhood adventures on dirt bikes and a love for the Harley-Davidson lifestyle, Raider World shares his journey from backyard thrills to epic cross-country adventures. Discover what it's like to find freedom on two wheels, learn about essential bike upgrades, and get inspired to plan your own unforgettable road trip.


How did you get into riding motorcycles?
I started riding dirt bikes around 6 and loved riding ever sense. We didn’t have a lot of money for tracks, so me and my friends would kind constructions zones, empty backyards, and just rip.
What was your first bike?
My first Harley Davidson was a 2014 Harley Davidson Street Bob.
What’s your favorite part about riding a Harley?
My favorite part about riding is being able to disconnect from life’s daily struggles with a twist of the wrist. Riding a motorcycle requires skill, focus, and situational

In episode 5 of the El Dorado Project, Orlando walks you through a stretched saddlebag install.

In this interview, Donovan Green (aka) Sensei, takes us on a journey from his early days in Jamaica to his current roles as a fitness coach, martial artist, and creator of the YouTube channel Ride Fit Nation.
Sensei shares his passion for motorcycles, the inspiration behind his channel, and his vision for the future. Learn about his motorcycle fascination, the transformative power of fitness in riding, and his remarkable journey that has led him to create a community that embraces both miles and muscle.
How did you get into riding motorcycles? What was your first bike?
It all started back in Jamaica when I was a baby. My Cousin Junior would kidnap me from my mom (literally) and take me for a ride around town on his bike. I was too young to remember the full details of the thrill but I do remember the kidnapping. LOL. Unfortunately he lost his life in a terrible bike accident.
However, years later my family migrated to The United States in 1983. I was 8 years of age and everything felt

In episode 4 of the El Dorado Project, Orlando walks you through swapping out the stock rear fender for HOGWORKZ stretched rear fender system on the Street Glide Special.
Are you ready to take your Harley to the next level? Upgrading to HOGWORKZ stretched rear fender is just what your bike needs to stand out from the crowd. A well-designed, color matched CVO rear fender is a must-have addition for you bike.
In this comprehensive blog, Orlando guides you through the step-by-step installation process of our rear fender system. From prepping your bike and performing the installation, we'll cover each stage in detail. You'll have all the necessary information and tips to successfully complete the installation.
By the end of this guide, you'll be equipped with the knowledge and confidence to tackle this exciting modification project. So, get ready to embark on this journey and unlock the full potential of your ride with a sleek and functional rear fender! Let's dive in and transform your

In episode 3 of the El Dorado Project, Orlando walks you through swapping out the stock gas tank for a stretched tank on this Street Glide Special.
Are you looking to add a touch of uniqueness and enhanced fuel capacity to your motorcycle? Upgrading to a stretch gas tank might just be the solution you're seeking. A stretch gas tank not only offers a distinctive appearance but also provides additional fuel storage.
Check out the video install above or go through our guide below, we will walk you through the step-by-step installation process of a stretch gas tank, ensuring that you have all the necessary info to successfully complete the installation. From preparing the tank to connecting the fuel lines and reassembling the components, we'll cover each stage in detail, ensuring a smooth and hassle-free installation.
By the end of this guide, you'll be equipped with the knowledge and confidence to install a stretch gas tank on your Harley, leveling up its appearance and extending your riding

El DORADO PROJECT Episode 2: Batwing Outer Fairing
Welcome back to the latest episode of the El Dorado Project! In this video, we’ll be swapping out the outer fairing.
The El Dorado Gold batwing outer fairing is an absolute showstopper. If you're a Street Glide owner, you're likely familiar with the process of removing the outer fairing. It's a breeze, requiring just a few simple steps. Rest assured, we've got you covered with this clear and easy-to-follow video and detailed step by step instructions.
The front end of the bike is already taking shape with the matching front fender and outer fairing. The El Dorado Project is far from over, so stay tuned for more updates as this Street Glide Special comes to life.
Tools Needed:

- Inch-pound torque wrench
- Ratchets (various sizes)
- Flathead screwdriver
- Phillips head screwdriver
- T27 Torx bits(various sizes)
- T25 Torx bit
- T25 T-handle
- T27 T-handle
- 3M double-sided tape
Step 1: Preparing for Installation

- Cover up the tank and the front fender to