Extended saddlebags are a fantastic addition to any Harley, providing you with plenty space to carry your essentials while cruising on the open road. However, the installation process can seem daunting at first glance. Fear not, for we're here to guide you through every twist and turn of this DIY saddlebag installation.
In this comprehensive guide, we will walk you through each step of the saddlebag installation process, ensuring that your stretched saddlebags are securely attached. From assembling the latch assembly to the final checks on your stretched bagger setup, we've got you covered in this video and step-by-step guide.

Step 1: Assembling the Latch Assembly:

- If you plan to use your OEM lock, remove the stock lock.

- Run the locking cable along the channel in the latch assembly, ensuring the flat edge faces one way and the hinge side faces the other.

- Snap the locking cable into place by aligning the grooves.

- The spring, washer, m3 screw and barrel bolt to for the latch assembly.


- Insert the spring into the latch assembly with the longer end towards the locking cable and the smaller end inside a hole.


- Secure the spring with an M3 screw, washer, and barrel bolt.

- Attach the locking arm to the assembly, making sure it faces the correct way.

- Slide the lever coupler into place, matching the holes.
Step 2: Installing Front Locking Plate:

- Slide the front locking plate into place.


- Secure the front locking plate with a self-tapping screw and washer.


- Peel off the lock arm seal's backing and stick the lock arm seal in place.
Step 3: Installing Rear Lock Plate:


- Align the cross pattern on the rear lock plate and secure it with a self-tapping screw and washer.
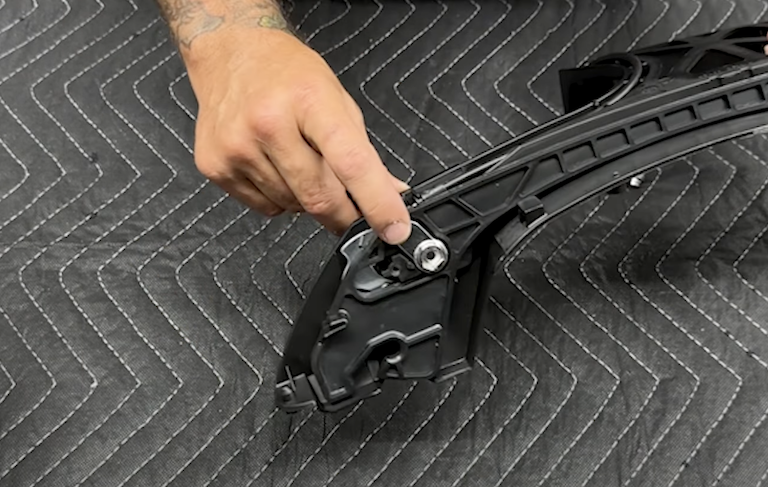
Step 4: Attaching Latch & Hinge Assembly:

- The latch assembly are marked with right and left stamps.
- Place the latch assembly inside the lid and make sure all holes are lined up.

- Secure it down with some self tapping screws.


- Set it in place and secure it with 2 self tapping screws.
Step 5: Installing the Lock:

- Insert the lock from the inside, aligning notches with the locking cable.

- Secure the lock with a short M4 screw and washer.
- Connect the lock cable, it will sit in the groove, make sure it’s lined up correctly.

- Tighten the nut with a 7/16 wrench.
Step 6: Install the Lever:

- Put the O ring inside the lid first. The lever must face the front.
- Take the longer screw with the washer and secure it down.
- Put the O ring inside the lid first. The lever must face the front.
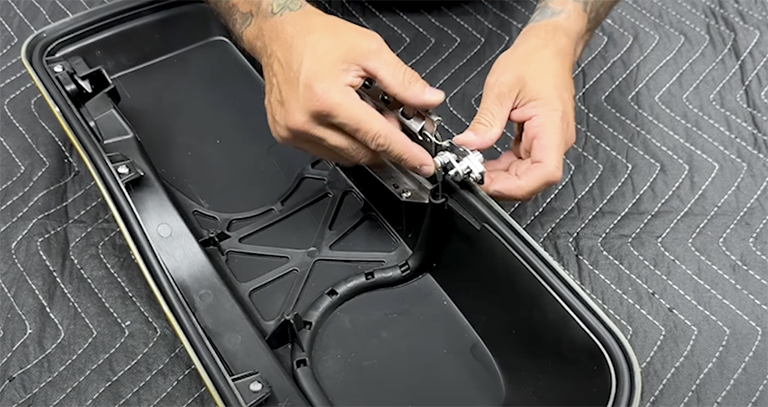
Step 7: Adding the Tether to the Lids:


- Insert the tether supports into the saddlebag lid and ecure the tether supports with self-tapping screws.
Step 8: Attaching Black Reflector to Latch Cover:

- Clean the surface & Stick the black reflector on the latch cover.
Step 9: Mounting the Latch Cover:

- Place the latch cover over the lock, aligning it with three mounting locations.

- Secure the latch cover with three short M4 screws and washers.
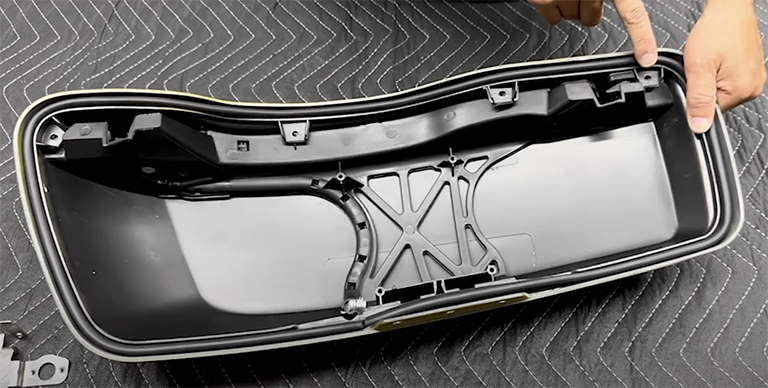
Step 10: Installing Gasket:

- Apply the gasket along the channel for a proper seal.
Step 11: Assembling the Saddlebag:

- Install the two strike brackets using short M4 screws and washers.


- Place the grommets with the fatter side facing outward.

- Install the saddlebag cushions on the bottom, popping them in and pulling them through from the inside.
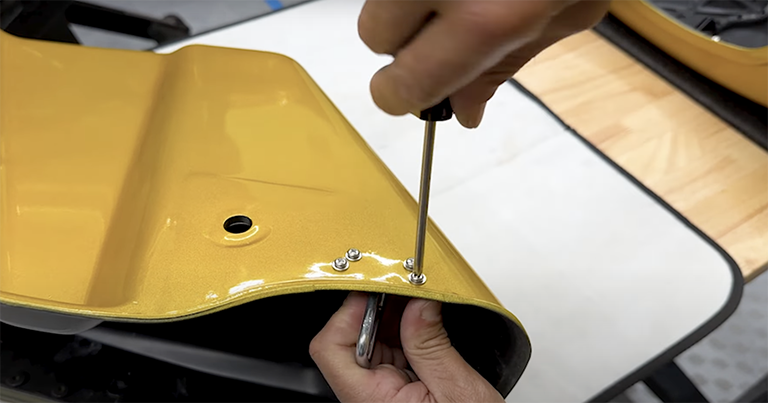
Step 12: Mounting the Saddlebag:


- Attach the lid to the saddlebag using two short M4 screws with washers in the middle.
- Attach the tether support to the saddlebag.
Step 13: Checking the Saddlebag:
- Ensure the saddlebag opens and closes properly.
- Verify that the seal is intact all around.


