In episode 4 of the El Dorado Project, Orlando walks you through swapping out the stock rear fender for HOGWORKZ stretched rear fender system on the Street Glide Special.
Are you ready to take your Harley to the next level? Upgrading to HOGWORKZ stretched rear fender is just what your bike needs to stand out from the crowd. A well-designed, color matched CVO rear fender is a must-have addition for you bike.
In this comprehensive blog, Orlando guides you through the step-by-step installation process of our rear fender system. From prepping your bike and performing the installation, we'll cover each stage in detail. You'll have all the necessary information and tips to successfully complete the installation.
By the end of this guide, you'll be equipped with the knowledge and confidence to tackle this exciting modification project. So, get ready to embark on this journey and unlock the full potential of your ride with a sleek and functional rear fender! Let's dive in and transform your motorcycle into a true head-turner on the road.
Tools Needed:
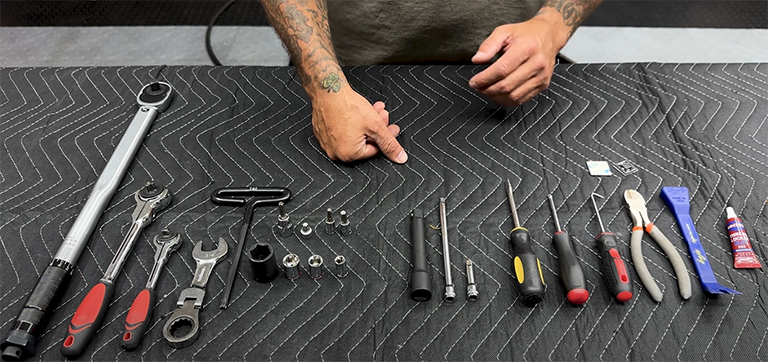
- Footpath torque wrench
- Ratchets (various sizes)
- 3/4-inch stubby wrench
- T40 T-handle
- 3/4-inch socket
- 1/2-inch socket
- 7/16-inch socket
- 5/16-inch socket
- T40 Torx
- 3/16-inch hex bit
- 6mm hex bit
- Flathead screwdriver
- Phillips head screwdriver
- Picking tool
- Cable tie cutters
- Plastic prying tool
- Blue Loctite
- Cable tie mounts
Step 1: Prepare for Removal
- Turn off the motorcycle and gather all the necessary tools.


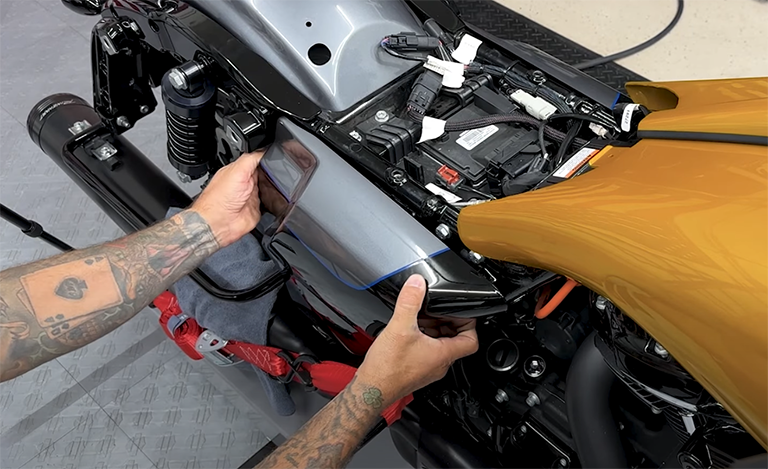
- Remove the seat, left and right saddlebags, and side covers from the motorcycle.
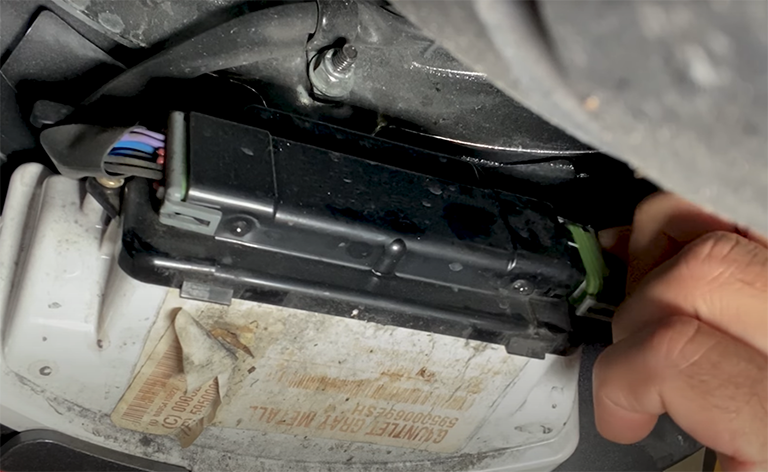

- Disconnect the tri-bar light and the rear tail light by popping off the plastic covers and pulling up the tabs to release them.
Step 2: Remove Fender Extension
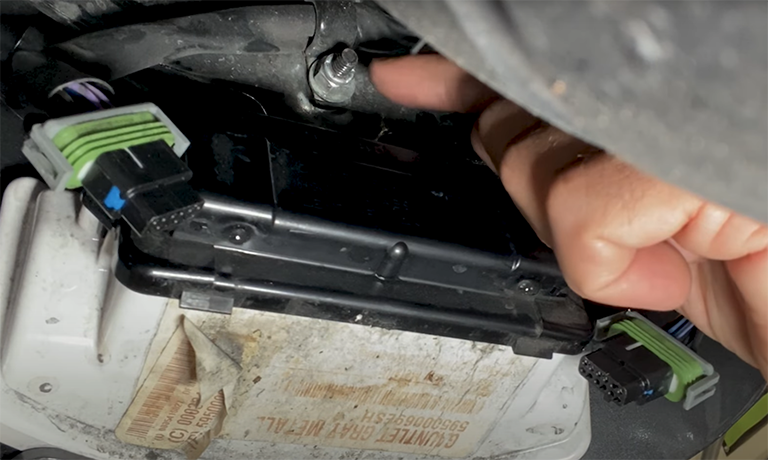
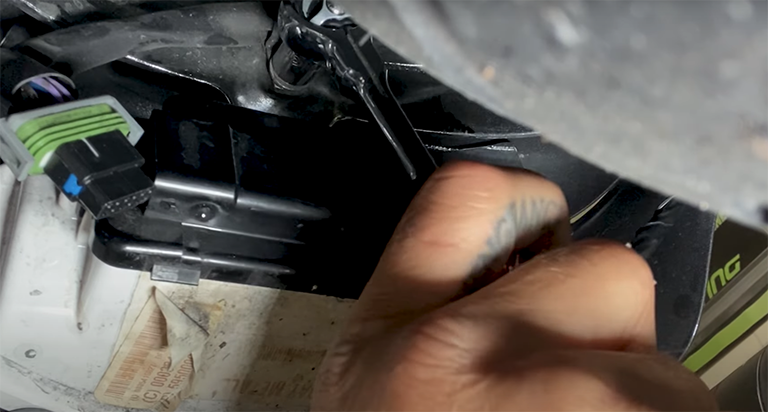
- Loosen the nut on the wire retention clip on the steel plate.


- Remove the fender extension with the tri-bar by unscrewing the three nuts on each side.
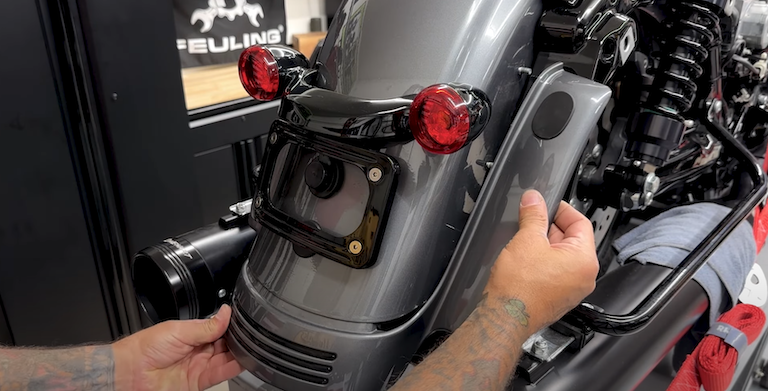
- Remove the tri-bar the fender extension.
Step 3: Remove Fender Screws

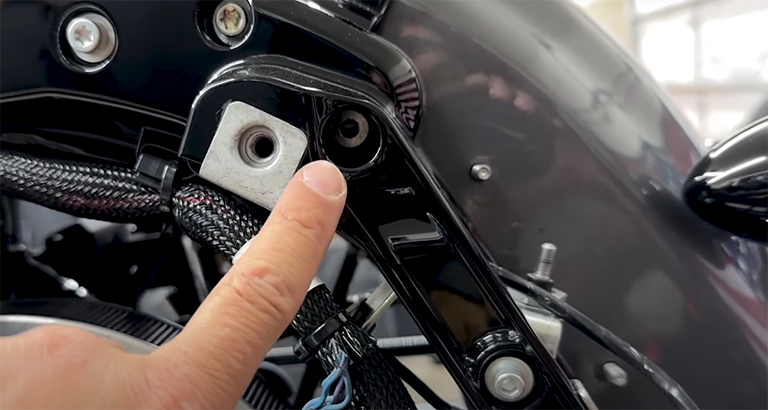
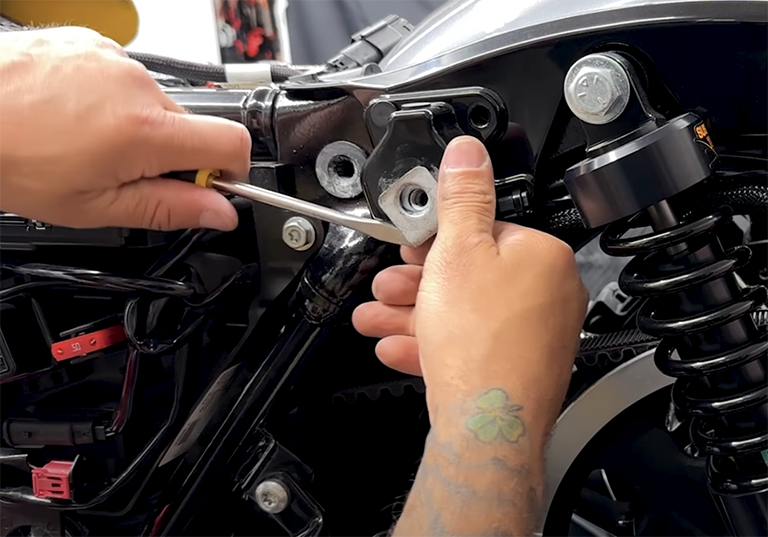
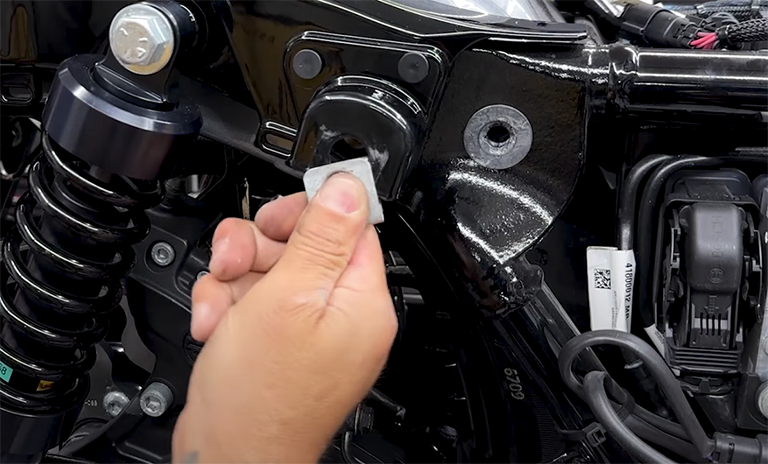

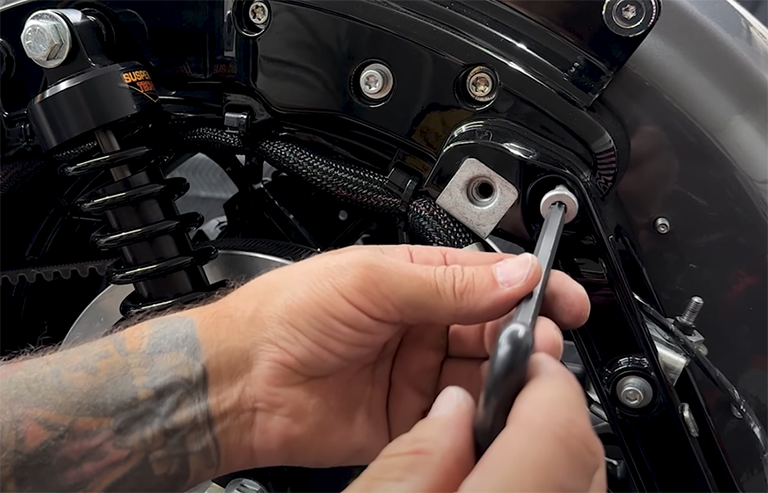
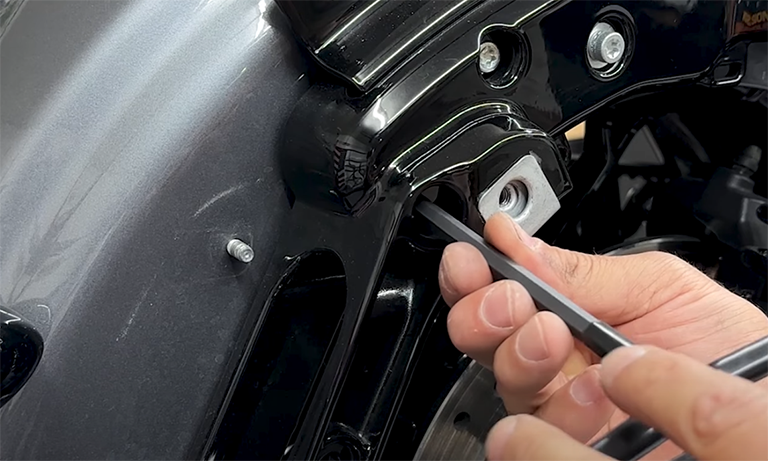

- Remove the fender screws located behind the saddlebag mounts and on each side of the fender using a T40 Torx.
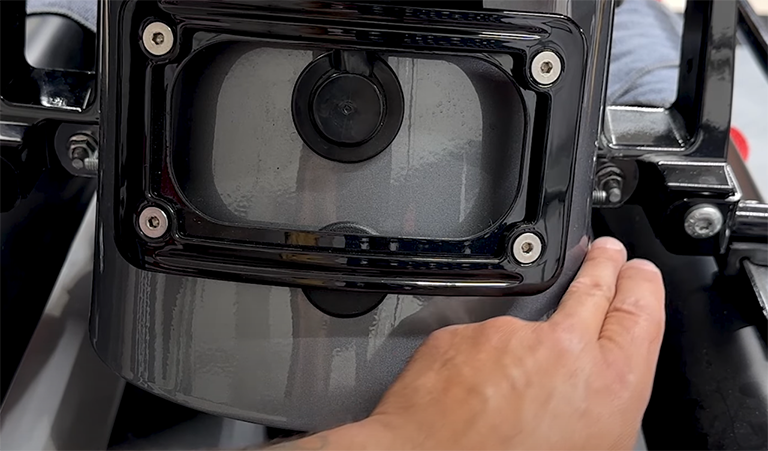

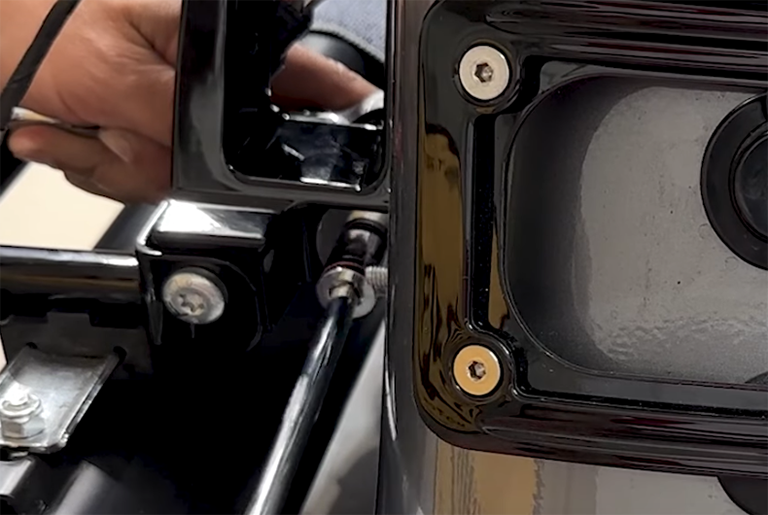
- Remove the Tri Bar light bracket.
- Remove the outside bracket, it's a T40 Torx screw with a ½ inch nut.
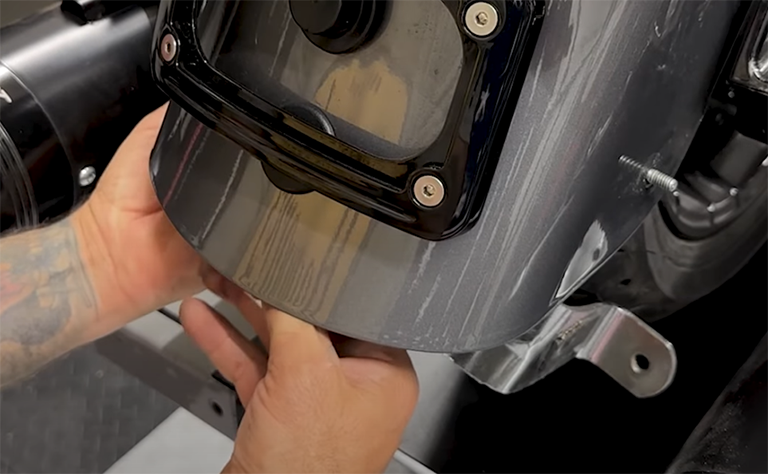
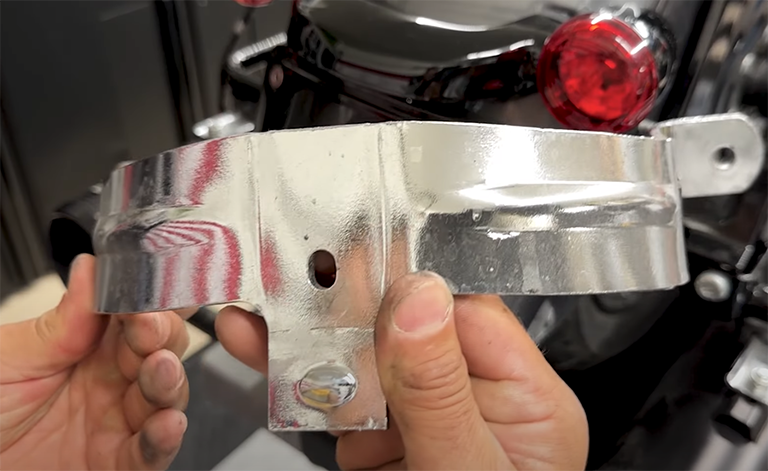
- Remove the 7/16 nut on the inside to release the tri bar light bracket.


- Remove the ¾ in nuts on each side of the fender.


- Remove the last 2 T40 side screws to release the tension and remove the fender.

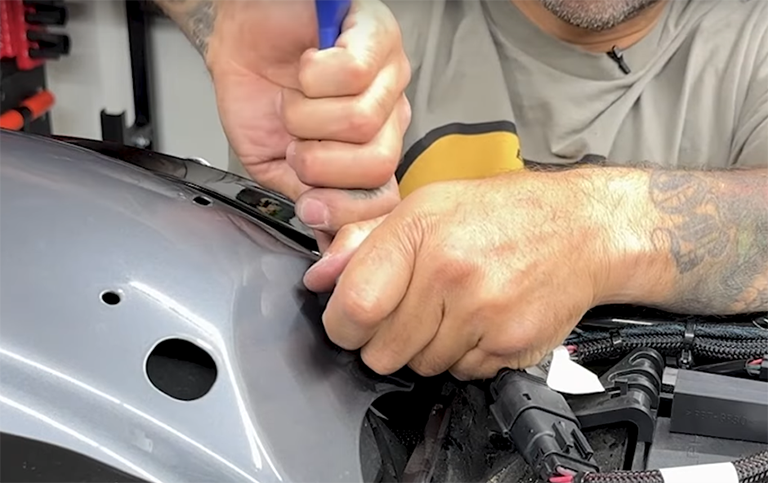

- Remove the wiring connector attached to the front of the fender.

- Carefully remove the rear fender.
Step 4: Disconnect Wiring
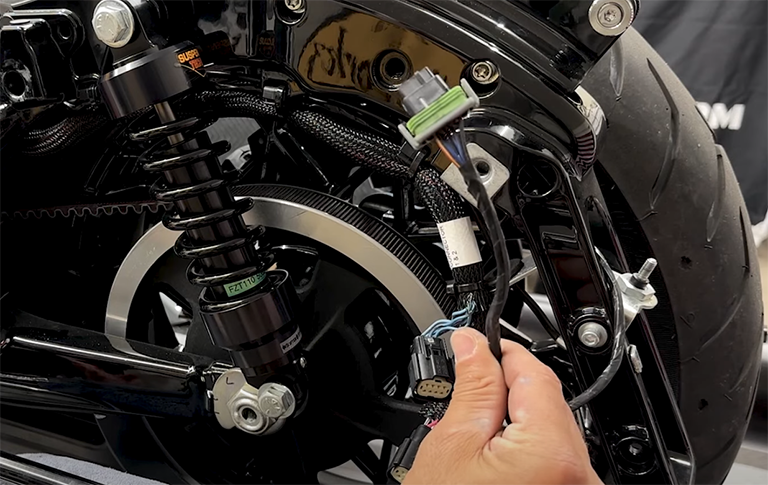

- Remove the rest of the tri bar wiring. Cut any zip ties holding the wires in place.

- Remove the fuse panel to work the tri bar wire out.
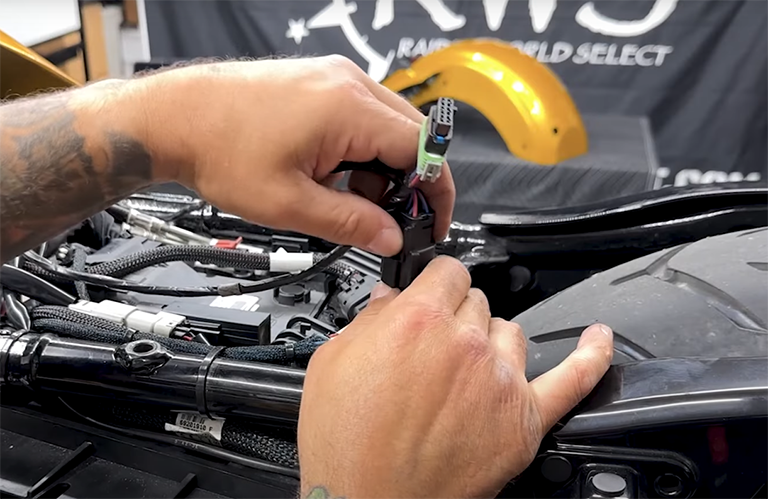
- Pull the wire through the middle of the bike and disconnect it.
Step 5: Remove Antenna
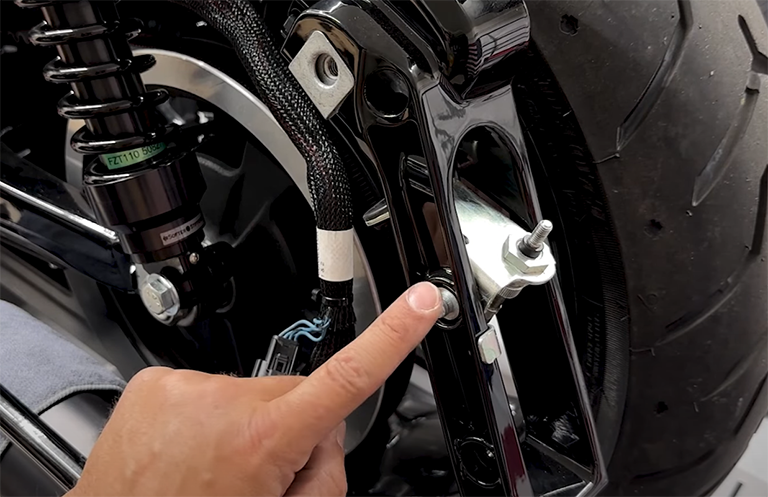
- Unscrew the rear antenna bracket with a 3/16 hex bit.
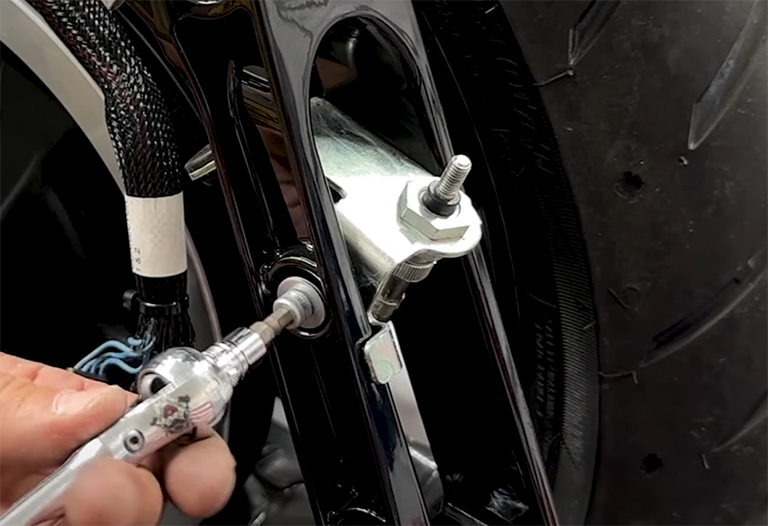
- Unscrew and unplug the antenna from the bracket.


- Remove the split grommet on the back and the antenna wire will fall out of the bracket.
- Pull the antenna wire through the bike and store it behind the fuse box for now.
Step 6: Prepare New CVO Stretched Fender
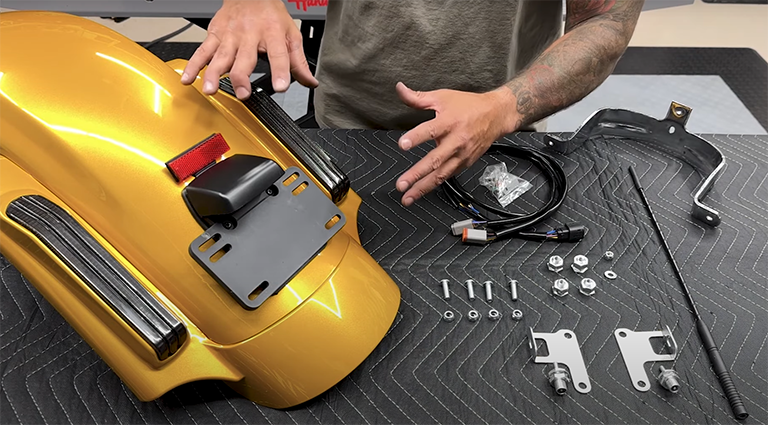
- Go over the new CVO rear fender and ensure all necessary parts are present.

- If you choose to remove the red reflector, follow these steps.


- Turn the CVO fender over, remove the 7/16th nut, 5/16th nut, and license plate holder bracket.
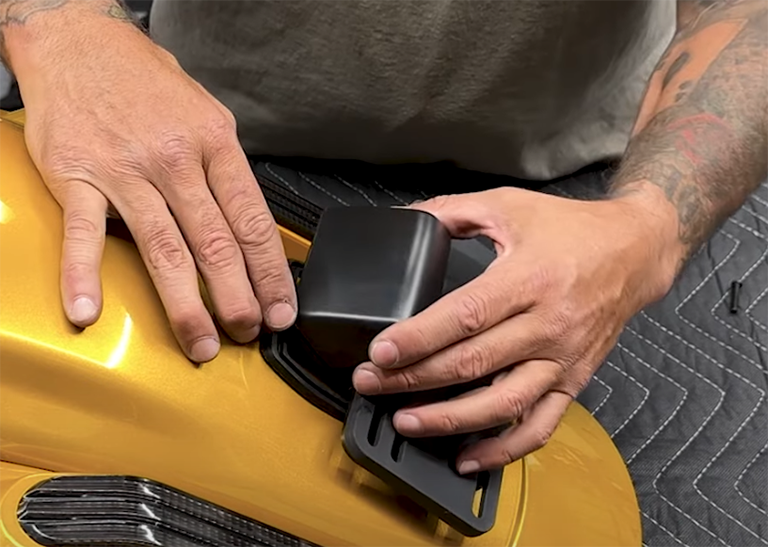
- Remove the License plate holder and pull out the reflector.
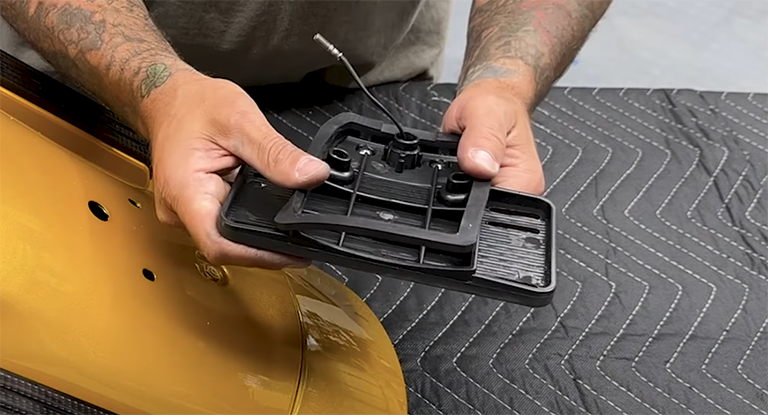
- Make sure the rubber gasket is back in place when reattaching your license plate holder.
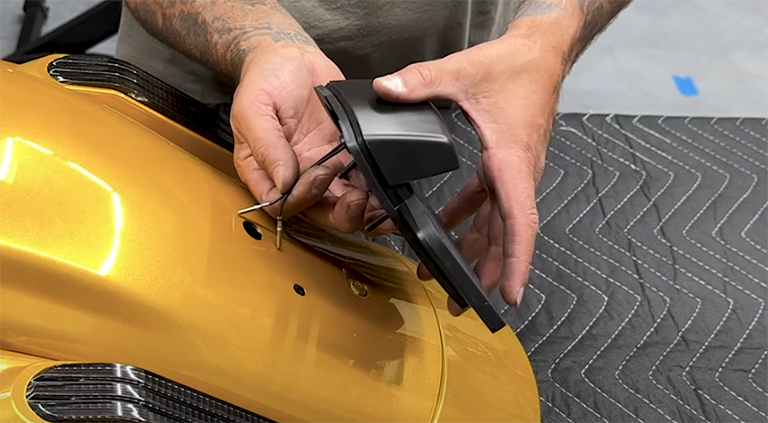
- Re-insert the screws into the license plate holder and feed the wires through the fender.
- Flip the fender over and reinstall the bracket.

- Before tightening everything, flip the rear fender back over and check that the gasket is properly seated.
- Tighten down the screws with a phillips head screwdriver on the outside and a 5/16th on the inside.
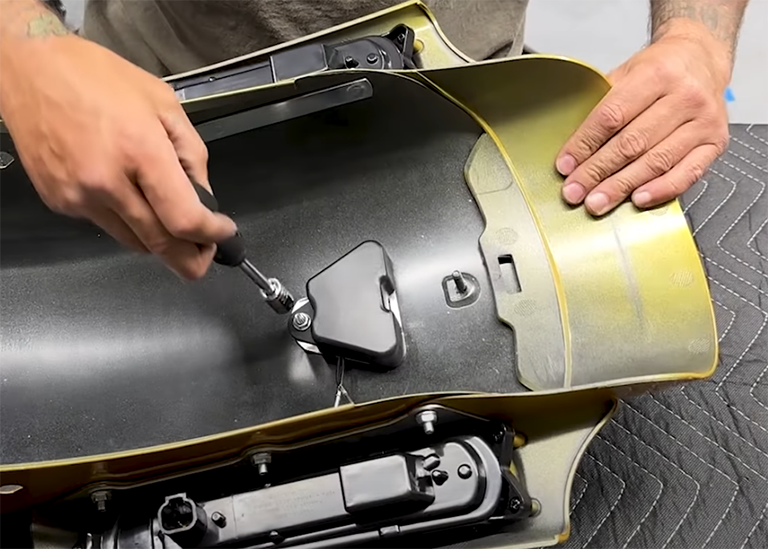
- Re-add the bracket cover and make sure the wiring is coming out the side.
Step 7: Connect the Rear Fender Brake Lights.
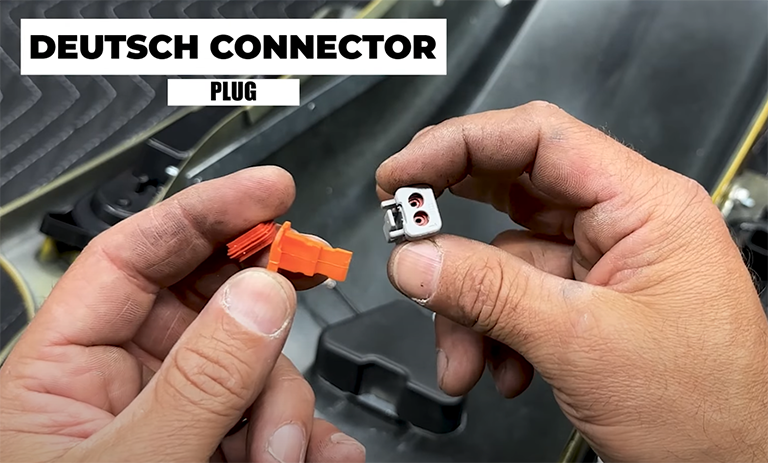
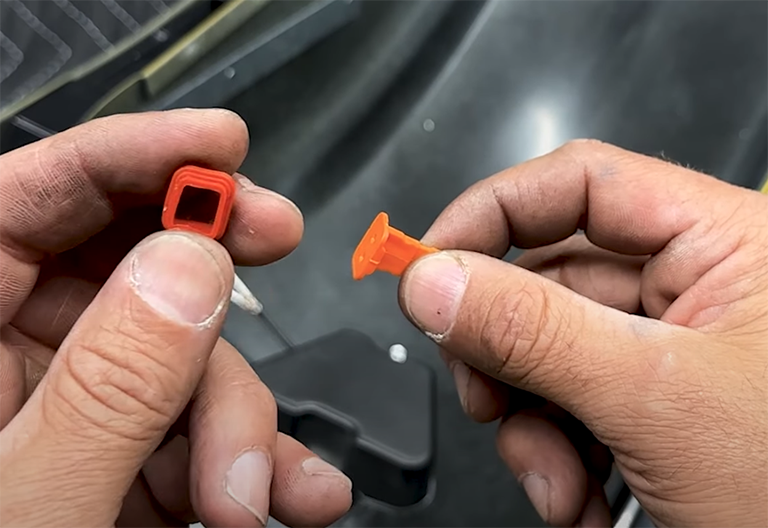
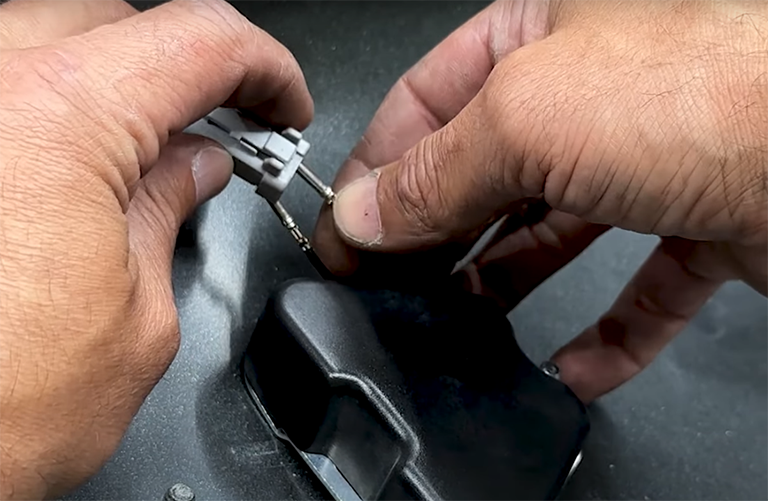

- Feed the taillight wires in the #1 slot and #2 slots of the connector.
- Make sure they match up with the other connector for the positive and the negative.
- Insert the wires, when they’re fully seated, you’ll hear it click.
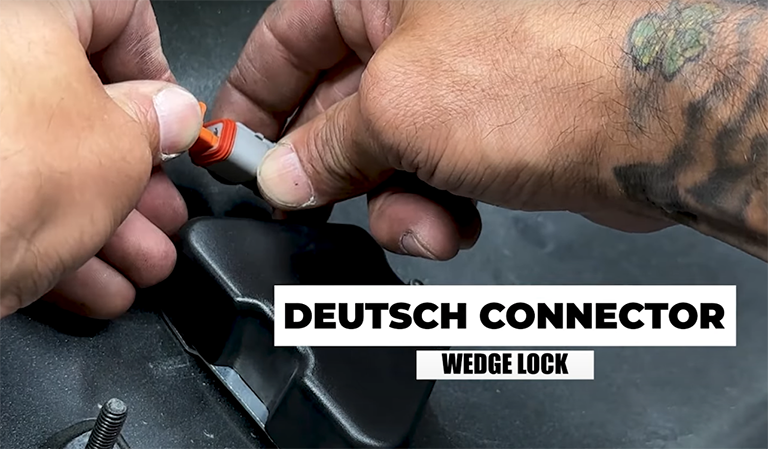
- Add the orange gasket and retaining clip to the connector.

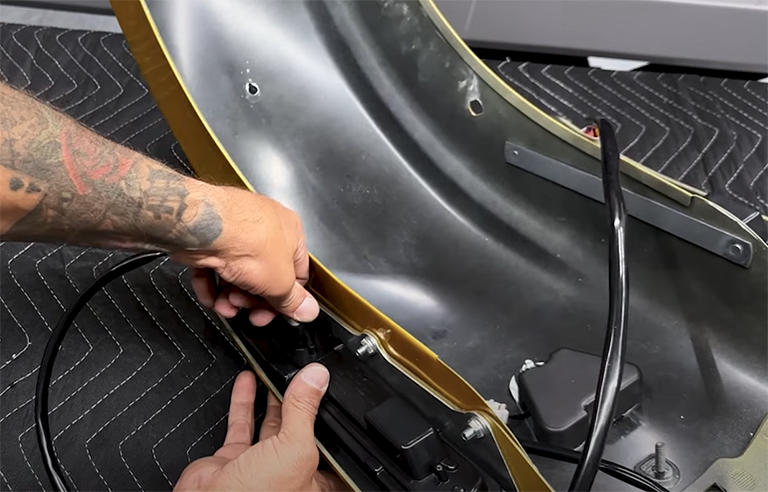

- Make all the connections and make sure your running lights, brakes, and turn signals are working correctly before moving any further.

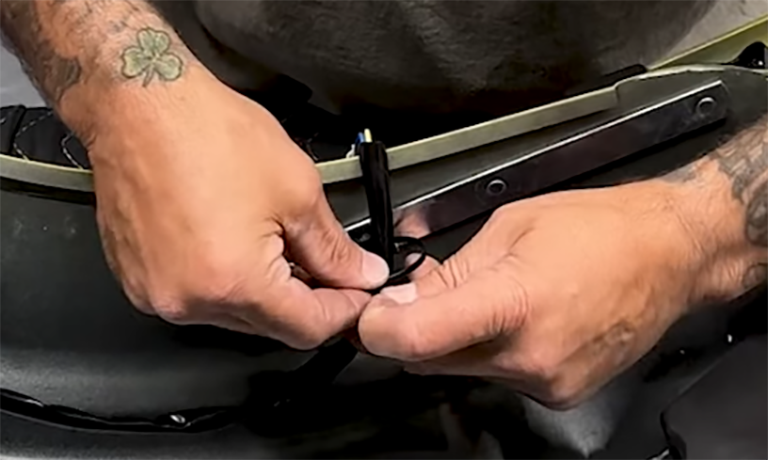
- To run your wires, clean the inside surface to adhere cable mounts.

- Make sure your wires are not making any contact with the wheel. Clip off the excess zip ties.
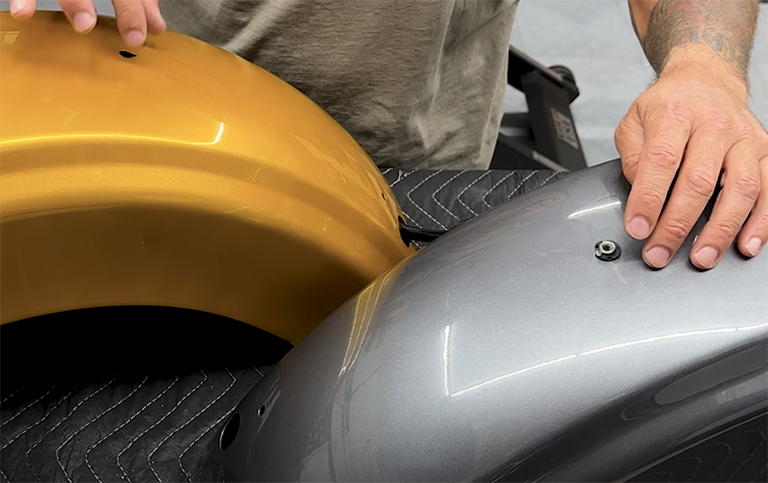
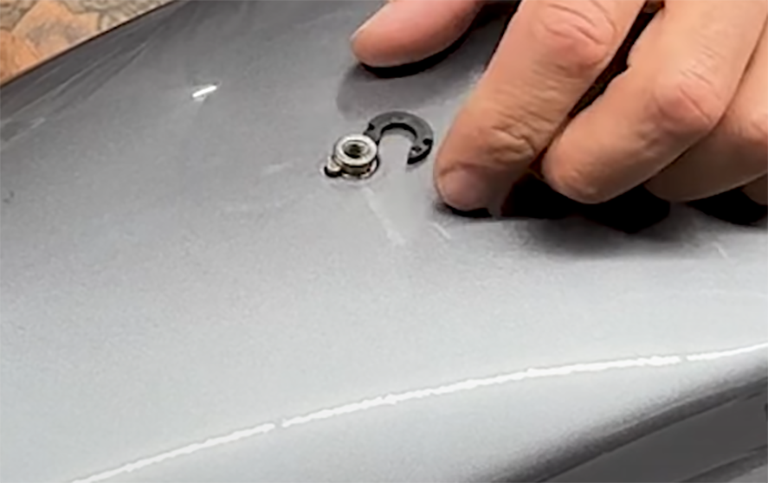

- Remove the seat retention nut and move it to the new rear fender.
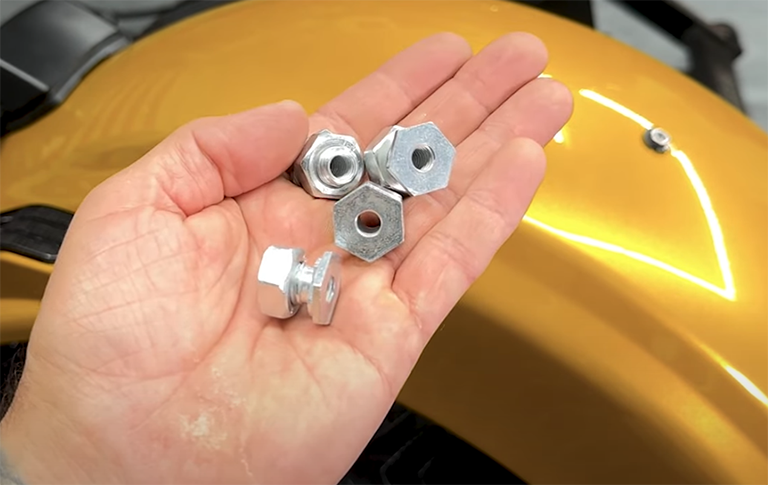
- You'll receive 4 new mounting bosses with this kit, reuse your stock washer.
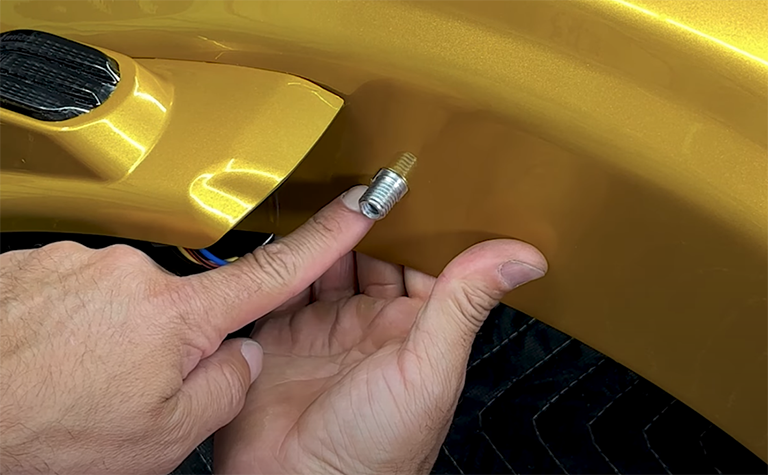
- Install the rear mounting bosses while the fender is off of your Harley. Turn the mount till it fully seats.

- Add the stock washer and nut. These are what your stock screw goes into to secure the fender in place.
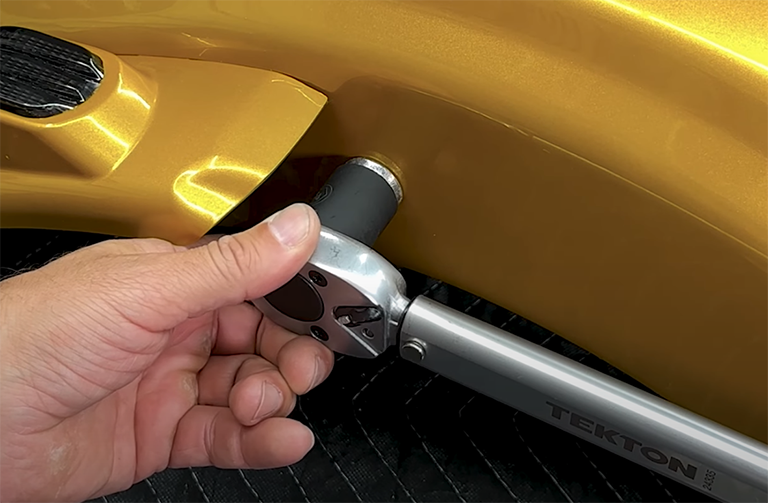
- The torque value on the mounting bosses is 15 to 20 foot-pounds.
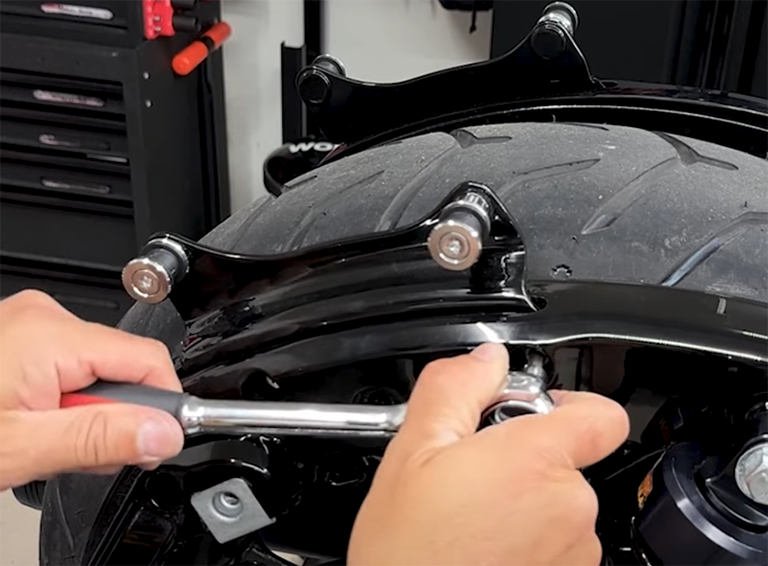
- To make your install a little easier, remove the four point docking hardware.
- Remove the 2 T40 screws on each side.
- Pull out the docking hardware.
Step 8: Installing the New Rear Fender

- Slide the new rear fender into place, running the wires through the open slot.

- Disconnect your brake lights so you can run them through the open slot on the bike.

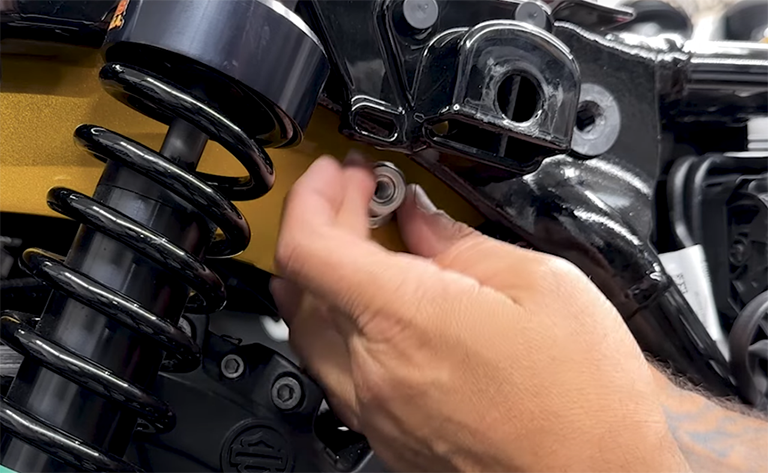
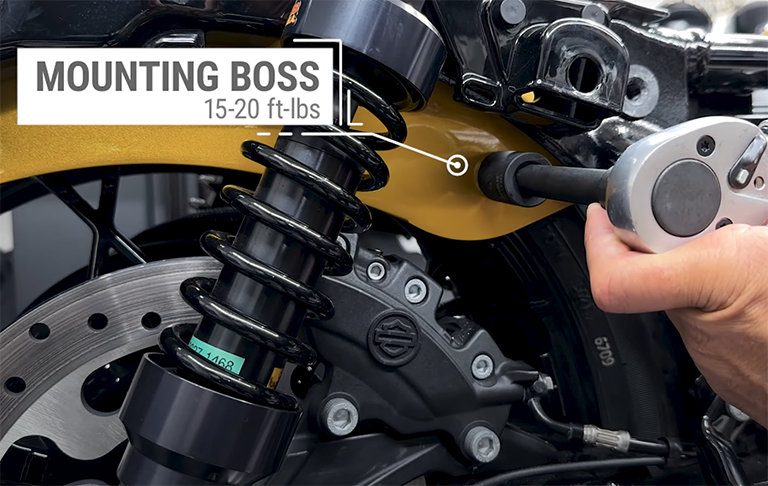
- Add the 2 front mounting bosses to each side, Use a torque wrench to tighten the screws to 15-20 foot-pounds.


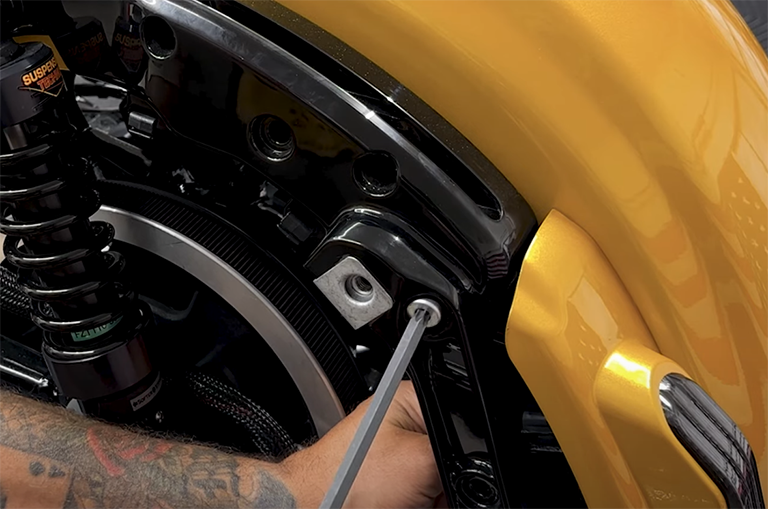
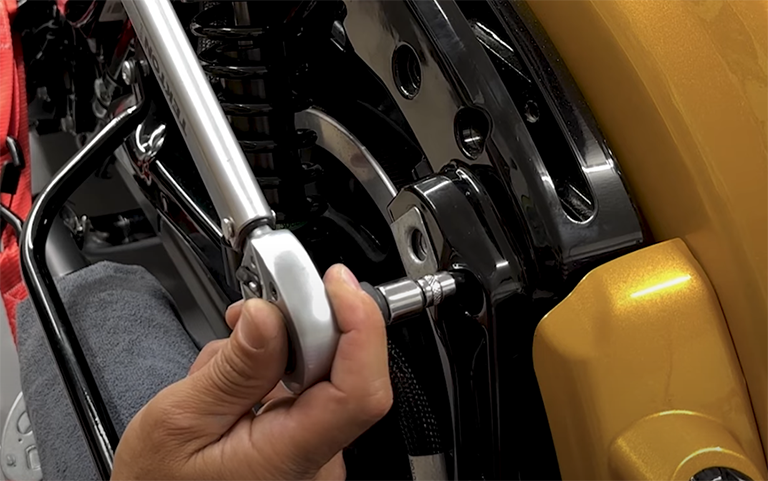
- Install the stock screws. Start them first, then tighten down to 15-20 foot-pounds.

- Reconnect the lights and check that they work properly.
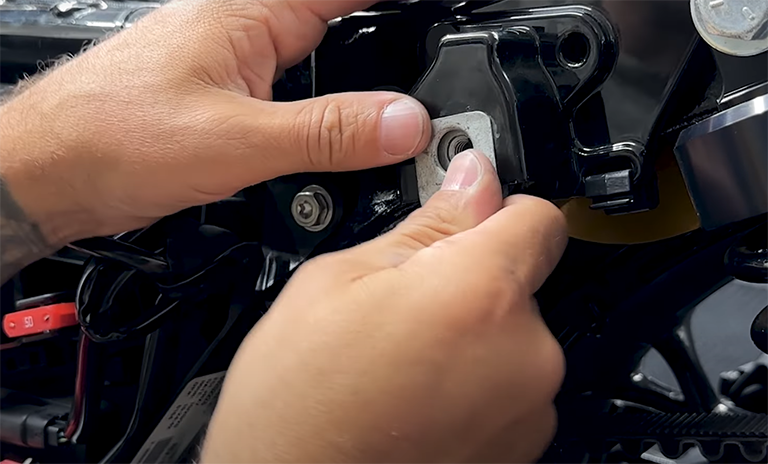

- Reinstall your saddlebag mounts & support bracket strut screws and tighten them down to 15-20 foot-pounds.
Step 9: Zip Tie Wires and Reassemble

- Secure all wires with zip ties, keeping them away from the suspension and tire.
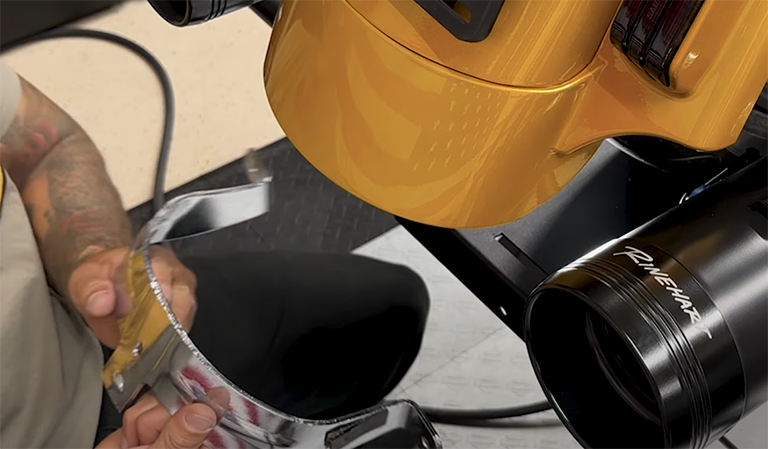


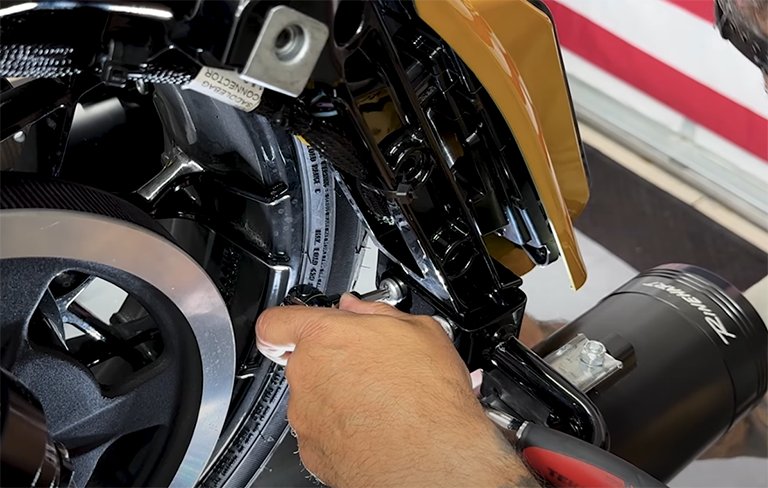
- Reinstall the stock rear fender bracket using the 2 screws on each side and 7/16-inch nut and washer.
Step 9: Make the Final Connections


- Double-check all connections and make sure everything is properly secured and in place.
- Check that the lights, brakes, and turn signals are functioning correctly.
- Ensure the new fender is properly aligned and tightened.