El DORADO PROJECT Episode 2: Batwing Outer Fairing
Welcome back to the latest episode of the El Dorado Project! In this video, we’ll be swapping out the outer fairing.
The El Dorado Gold batwing outer fairing is an absolute showstopper. If you're a Street Glide owner, you're likely familiar with the process of removing the outer fairing. It's a breeze, requiring just a few simple steps. Rest assured, we've got you covered with this clear and easy-to-follow video and detailed step by step instructions.
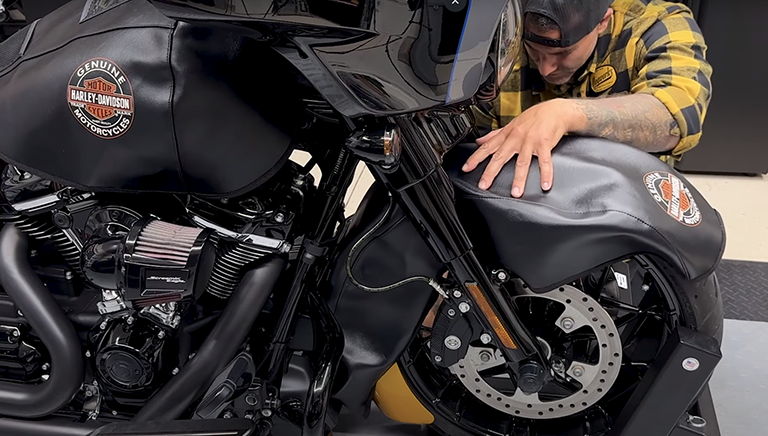
The front end of the bike is already taking shape with the matching front fender and outer fairing. The El Dorado Project is far from over, so stay tuned for more updates as this Street Glide Special comes to life.
Tools Needed:

- Inch-pound torque wrench
- Ratchets (various sizes)
- Flathead screwdriver
- Phillips head screwdriver
- T27 Torx bits(various sizes)
- T25 Torx bit
- T25 T-handle
- T27 T-handle
- 3M double-sided tape
Step 1: Preparing for Installation

- Cover up the tank and the front fender to protect them during the process.
Step 2: Removing the Trim and Windshield

- Use a T27 Torx bit to remove two short outer screws and one long middle screw from the trim and windshield.
- Keep the middle screw in place to support the outer fairing while you remove other screws.
Step 3: Removing the Outer Fairing

- Remove the two T27 Torx screws on the right side and two on the left side.
- Take out the middle screw that was supporting the outer fairing and rest it on the fender.
- Carefully lift the outer fairing to disconnect the headlight.
Step 4: Disconnecting the Headlight


- Unplug the headlight by pulling up on the tab located at the top of the connector and pulling it out.
Step 5: Disassembling the Old Outer Fairing


- Remove the headlight door or trim by unscrewing the Phillips head screw on the bottom. Save the screw, you'll be reusing it.
- Take off the headlight trim by lifting it up from the top.


- If replacing the headlight, remove the three Phillips head screws securing it.
- If replacing the whole assembly, remove the four Torx screws with a T25.

- To remove the headlight sub trim, lift up and it comes out.

- Remove the 4 clips from the inside of the fairing. Easiest way is to is push it, apply pressue, take a screw driver pry the clip from the bottom and slowly work it off of the fairing.

- Remove the fairing vent bezel by prying it gently, using a heat gun if needed. When reinstalling on the new outer fairing, replace the adhesive with 3M tape.
Step 6: Installing Components on the New Outer Fairing

- Start by attaching the fairing vent bezel, aligning the tabs on the bottom and top, and securing it with 3M double-sided tape.

- Reinstall the clips on the sides of the bezel.

- Place the headlight trim back into position, securing the top first, and then clipping in the bottom.
Step 7: Installing the Headlight Assembly

- Reattach the headlight assembly by aligning the top holes and securing it with the T25 Torx screws.
- Tighten the screws, making sure they start the threads properly.
Step 8: Reinstalling the Headlight Door or Trim

- Place the headlight door or trim back into position and secure it with the Phillips head screw on the bottom.
- Tighten the screw to 22 to 32 inch-pounds. Get snug, but don't over tighten.
Step 9: Mounting the New Outer Fairing

- Connect the headlight back to the motorcycle.

- Use the middle screw to support the outer fairing while aligning and installing the other screws.

- Start the screws before tightening them down to ensure proper alignment. Check around the outer fairing to make sure all the screws are seated.
Step 10: Final Adjustments

- Check the positioning and fitment of the outer fairing before fully tightening all the screws.
- If all the screws are seated, begin tighetning. The long screw goes on top, the short one goes on the bottom.
Step 11: Finishing Touches

- Replace any components that were taken off temporarily, such as trim pieces and windshield.
- Torque the windshield screws to 25 to 30 inch-pounds and the fairing screws to 20 to 30 inch-pounds.

When it comes to swapping that fresh outer fairing, we're talkin' 'bout more than just metal and screws – it's about givin' your bike a whole new vibe, a new lease on life. Follow these steps, treat 'em right, and you'll have that new outer fairing sittin' pretty on your Street Glide in no time. Stay safe out there on them highways and keep the rubber side down!


