In episode 3 of the El Dorado Project, Orlando walks you through swapping out the stock gas tank for a stretched tank on this Street Glide Special.
Are you looking to add a touch of uniqueness and enhanced fuel capacity to your motorcycle? Upgrading to a stretch gas tank might just be the solution you're seeking. A stretch gas tank not only offers a distinctive appearance but also provides additional fuel storage.
Check out the video install above or go through our guide below, we will walk you through the step-by-step installation process of a stretch gas tank, ensuring that you have all the necessary info to successfully complete the installation. From preparing the tank to connecting the fuel lines and reassembling the components, we'll cover each stage in detail, ensuring a smooth and hassle-free installation.
By the end of this guide, you'll be equipped with the knowledge and confidence to install a stretch gas tank on your Harley, leveling up its appearance and extending your riding adventures. So, let's get started on this exciting modification journey and unlock the full potential of your ride!
Step 1. Preparing the tank:

- Before installing the tank, it needs to be sealed and pressure tested.
- It is recommended to fit the tank on your bike first before getting it painted.
Step 2. Compatibility with seats:
- Check HOGWORKZ's website for a list of seats that are compatible with this style of tank.
Ensure you have a new seat that will work with this setup.
Step 3. Filler neck modification (for newer models):
- If you have a newer model, such as a 2021, the filler neck is relocated to the right side of the tank.
- To make the new tank work, you need to purchase the older style filler neck top plate from Harley-Davidson.
- The part number for the filler neck top plate assembly is 75069.
Step 4. Removing components:


- Remove the seat, left saddlebag, and left side cover.

- Disconnect the gray connector for the fuel tank to purge the fuel line.
- Start the bike until it stalls, and repeat the process.

- Disconnect the main fuse.


- Remove the center dash by unscrewing the rear screw and front screw.
- Use a ⅜ socket for the rear screw.
- To remove the front screw, turn your ignition knob to the left to get a better angle. Use a 5/32 ball ended allen wrench.
Step 5. Disconnecting the old tank:

- Remove the center dash and fish out the cable for the fuel connector.


- Disconnect the vent line and fuel connector.

- Prepare the tank with painters tape to avoid scratches.
Step 6. Removing the top plate:

- Remove the metal cam ring using a cam ring remover tool or an adjustable spanner wrench.
- Take off the top plate by turning it counterclockwise until it pops off.

- Disconnect the 2 fuel lines.

- Disconnect the two-place connector from the top plate with a small screwdriver.

- Disconnect ground wire Spade connector.
Step 7. Removing the fuel level sender:

- Disconnect the two-place connector to release the fuel level sender from the wiring harness.
- Use a picking tool to push the tab and pull out the wiring harness.

- Lift up on the front finger of the fuel level sender bracket and slide it backward to disconnect it.

- After fuel level sender disconnects, carefully pull it out.
Step 8. Disconnecting the fuel pump and lines:

- Disconnect the transfer tube or crossover tube that goes to the right side of the tank.


- Disconnect the fuel pump by pulling up on the finger and sliding it forward.

- Drain any remaining fuel from the tank and remove the fuel pump strainer.
Step 9. Disconnecting the fuel line at the bottom:

- Pull up on the collar of the fuel line fitting to release it from the tank.
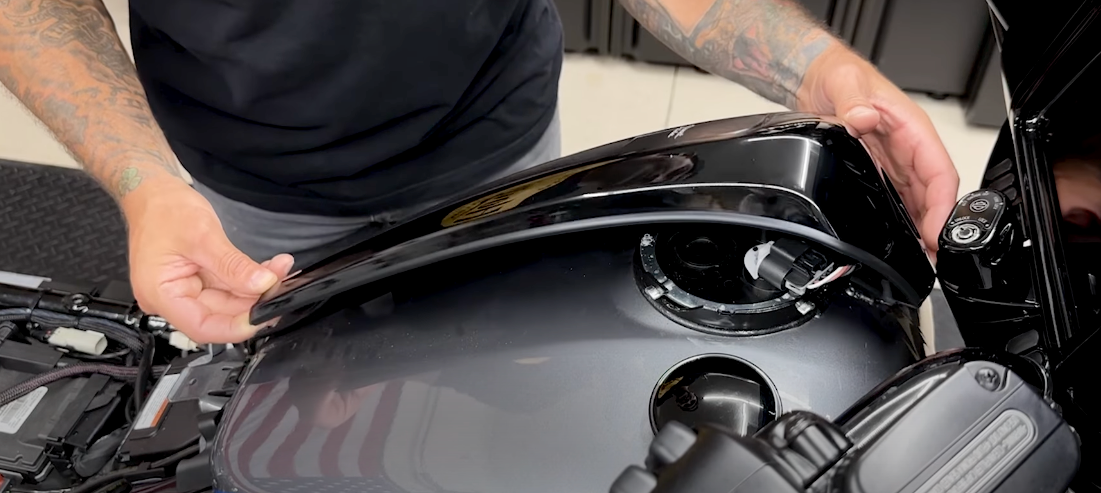
Step 10. Removing the old tank:


- Remove the two front screws and two rear screws.
- Use a ½” socket or T40.

- Lift off the old tank and set it aside.
Step 11. Transferring components to the new tank:

- Disconnect the fuel line fitting from the old tank and transfer it to the new tank.
- To remove the old fuel tank use a ⅞” deep socket.

- Inspect the fuel line and connector for any damage or wear.

- Make sure you have the new filler neck (Harley part #75069) and gasket (Harley part #61402).

- Prep the new tank with painters tape and install the new gasket for the top plate assembly.

- Add gasket to filler assembly.

- Replace the strainer on the bottom of the fuel pump assembly (Harley part #75254).
- Push the tabs in and it’ll pop off.

- Install the fuel pump, slide it in and it will lock into place.

- Connect the transfer tube or crossover tube, push it in and you’ll hear it click, give it a slight tug to make sure it’s secure.

- Next install the fuel level sender, this will slide into the grooves in the front. Slide it forward and it’ll lock into place.

- Connect the wiring harness.

- Reconnect the fuel lines, transfer tube, and fuel pump.

- Ensure all connections are secure and seated properly.


- Work the filler neck in slowly till its seat properly then install the cam ring.
Step 12. Installing the new tank:


- Connect the fuel pump and vent line connector.


- Install the rubber trim on the center dash and the gas cap.
- Attach the center dash to the new tank.


- Remove the c-clip and plastic bracket from the old tank and put it on the new tank.

- Bolt down the tank dash using the front and rear screws.
- Test fit the gas cap.

- Connect the grey connector for the fuel tank. Push it in till you hear it click.


- Secure the gas tank with the front and back screws.
- The torque value for the fuel tank screws on the front and the rear is 15 to 20 foot-pounds.

- Don't forget your rubber caps.


- Reconnect the fuel line and the main fuse.
- Add your seat.
We hope this guide has empowered you to tackle the installation of a stretch gas tank with confidence. By following the instructions, considering the necessary components, you can successfully accomplish a modification that will enhance your motorcycle's performance, while giving your bike that stretched out look.