SLIMZ™ LED Saddlebag Lights Install for 14+ Harley-Davidson® Touring Motorcycles from HOGWORKZ®
Introducing the HOGWORKZ® Slimz™ LED saddlebag lights—a sleek, low-profile LED light bar, measuring a mere 7/16" in thickness, designed to seamlessly mount beneath the rear lip of your OEM Harley-Davidson® saddlebag lid. These units are meticulously crafted to conform perfectly to the shape of your OEM saddlebags and securely adhere using 3M double-sided tape. With extended wire leads and an in-line quick disconnect feature, removing your saddlebags has never been easier.
Included in the package is a plug-and-play wiring adapter that effortlessly connects to the motorcycle's main wire harness under the seat, complete with pigtails for both left and right saddlebag lights. These lights boast ultra-bright red LEDs that serve as running lights, brake lights, and turn signals, making them a practical and visually appealing addition to your ride.
You also have the option to choose between smoked or red lens options to match your personal style. And rest assured, these LED saddlebag lights come with the HOGWORKZ® Lifetime Warranty, guaranteeing their performance and durability. It's an upgrade that's hard to resist!

1. Prepare the Saddlebag Surface:
- Clean the surface of the saddlebag thoroughly using the provided alcohol wipes.

2. Notch the Saddlebag:
- Use a small file to create a small notch in the center of the saddlebag. This will provide clearance for the wiring to prevent it from being pinched or cut when the bag is closed.

3. Run the Wiring Inside the Saddlebag:
- Route the LED light wiring along the inside of the saddlebag towards the main wire harness near the seat.
- Utilize the included zip ties and cable ties to secure the wiring in place.

4. Drill a Hole in the Saddlebag:
- Drill a 7/16 inch hole in the saddlebag to allow the wiring to pass through and connect to the main wire harness underneath the seat.

5. Remove the Seat:
- Remove the motorcycle seat to access the main wire harness.

6. Locate the Harness Connector:
- Identify the main wire harness, typically a six-pin connection.
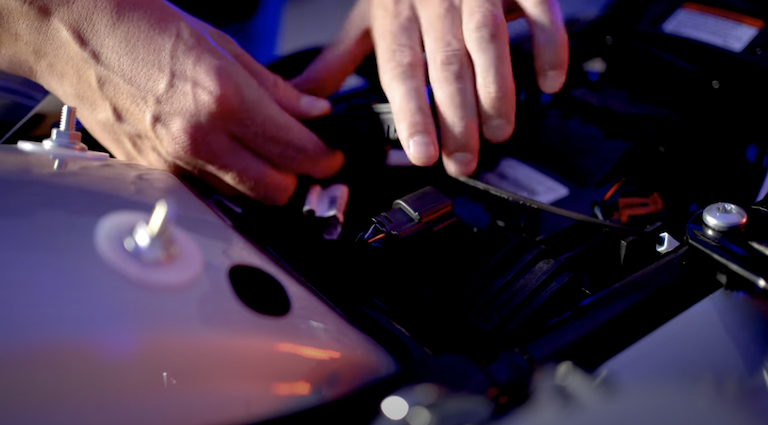
7. Connect the Supplied Harness:
- Unplug the main wire harness.
- Connect the supplied wire harness from the LED light kit to the main harness. Ensure a secure connection by listening for a "clip" sound.

Connect the LED Lights:
- Connect the left and right LED light strips to the corresponding connections on the newly installed harness.

9. Clean Up and Secure Connections:
- Organize and secure all wiring connections using zip ties.
10. Repeat for the Other Side:
- Repeat steps 3-9 for the LED light on the opposite saddlebag.
11. Reinstall Your Seat & Test Your New Lighting:
- Turn on the ignition to test the LED lights.
