Page 2 - Custom Bikes

Learn the HOGWORKZ® paint prep process! Follow Eli as he preps the Road Glide for custom paint. See how he tackles every detail, from scratches to dents, for a flawless finish.
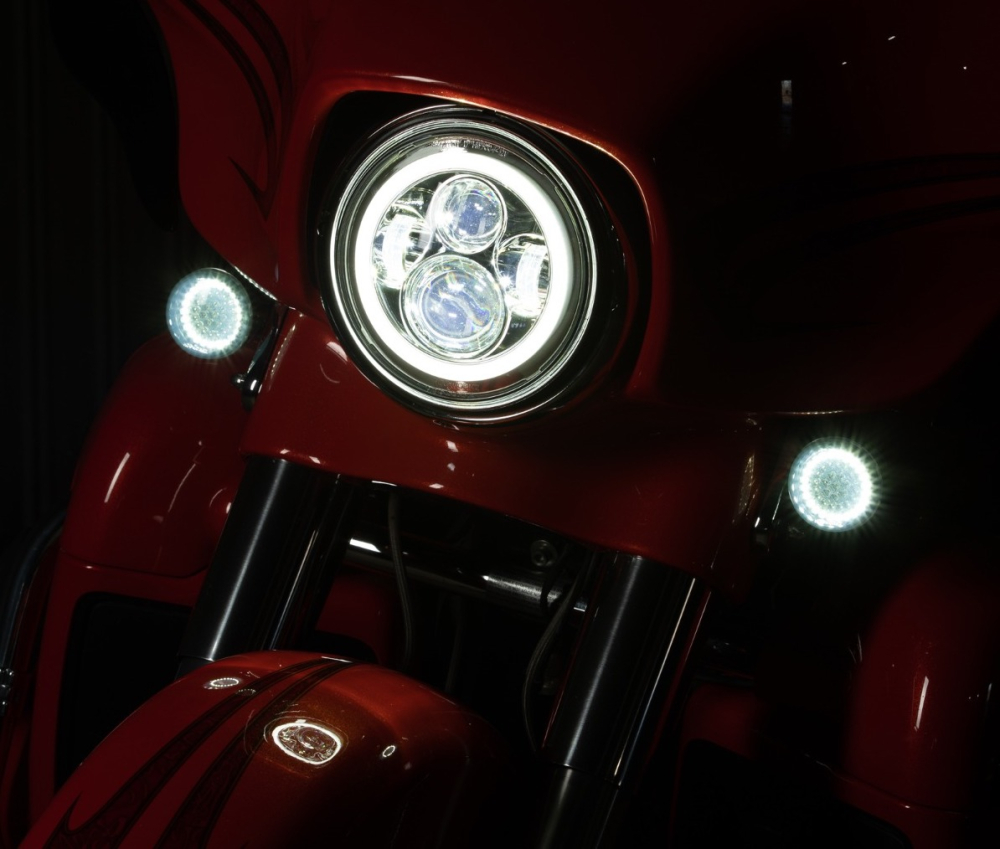


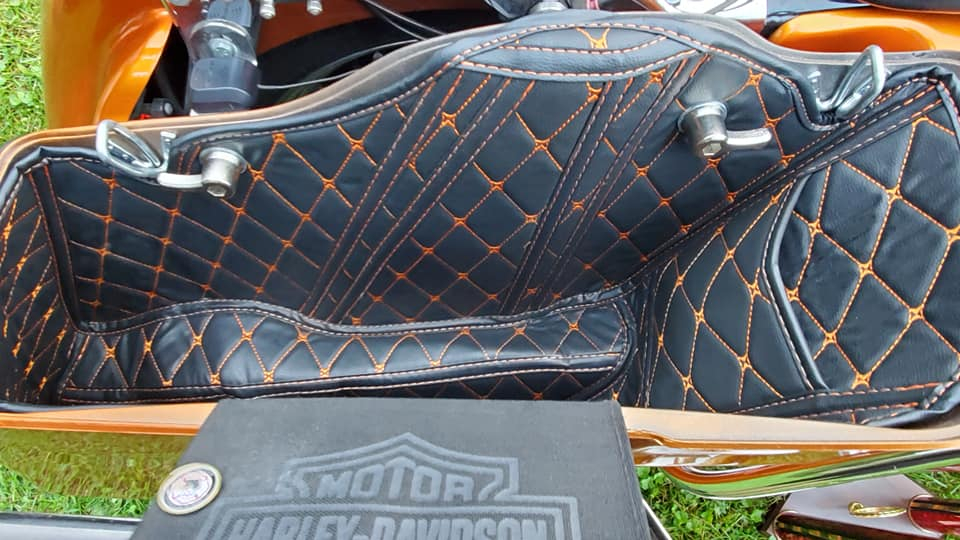
The start of our performance Road Glide build


Look what rolled into the tent at Ocean City! A jet-ski to motorcycle conversion! We talked with Justin, the owner of this wild ride. This build started out as a Suzuki Bergman scooter and a GTX supercharged jet-ski body.
He’s put around 100 hours into the build and cost him around $2200. Shawn couldn't help himself, he had to stick some of our HOGWORKZ® Goldtooth™ LED Front Turn Signals to it!
Check out the video for a closer look!

Learn about Chantel's(@wrenching_biker_babe_)Street Glide to Road Glide conversion after a near fatal motorcycle crash.

At Sturgis, we got together with our friend Alec Owens at Buell Motorcycles to learn a bit more about this American-made line of Superbikes.

In episode 5 of the El Dorado Project, Orlando walks you through a stretched saddlebag install.

In episode 4 of the El Dorado Project, Orlando walks you through swapping out the stock rear fender for HOGWORKZ stretched rear fender system on the Street Glide Special.
Are you ready to take your Harley to the next level? Upgrading to HOGWORKZ stretched rear fender is just what your bike needs to stand out from the crowd. A well-designed, color matched CVO rear fender is a must-have addition for you bike.
In this comprehensive blog, Orlando guides you through the step-by-step installation process of our rear fender system. From prepping your bike and performing the installation, we'll cover each stage in detail. You'll have all the necessary information and tips to successfully complete the installation.
By the end of this guide, you'll be equipped with the knowledge and confidence to tackle this exciting modification project. So, get ready to embark on this journey and unlock the full potential of your ride with a sleek and functional rear fender! Let's dive in and transform your

In episode 3 of the El Dorado Project, Orlando walks you through swapping out the stock gas tank for a stretched tank on this Street Glide Special.
Are you looking to add a touch of uniqueness and enhanced fuel capacity to your motorcycle? Upgrading to a stretch gas tank might just be the solution you're seeking. A stretch gas tank not only offers a distinctive appearance but also provides additional fuel storage.
Check out the video install above or go through our guide below, we will walk you through the step-by-step installation process of a stretch gas tank, ensuring that you have all the necessary info to successfully complete the installation. From preparing the tank to connecting the fuel lines and reassembling the components, we'll cover each stage in detail, ensuring a smooth and hassle-free installation.
By the end of this guide, you'll be equipped with the knowledge and confidence to install a stretch gas tank on your Harley, leveling up its appearance and extending your riding

El DORADO PROJECT Episode 2: Batwing Outer Fairing
Welcome back to the latest episode of the El Dorado Project! In this video, we’ll be swapping out the outer fairing.
The El Dorado Gold batwing outer fairing is an absolute showstopper. If you're a Street Glide owner, you're likely familiar with the process of removing the outer fairing. It's a breeze, requiring just a few simple steps. Rest assured, we've got you covered with this clear and easy-to-follow video and detailed step by step instructions.
The front end of the bike is already taking shape with the matching front fender and outer fairing. The El Dorado Project is far from over, so stay tuned for more updates as this Street Glide Special comes to life.
Tools Needed:

- Inch-pound torque wrench
- Ratchets (various sizes)
- Flathead screwdriver
- Phillips head screwdriver
- T27 Torx bits(various sizes)
- T25 Torx bit
- T25 T-handle
- T27 T-handle
- 3M double-sided tape
Step 1: Preparing for Installation

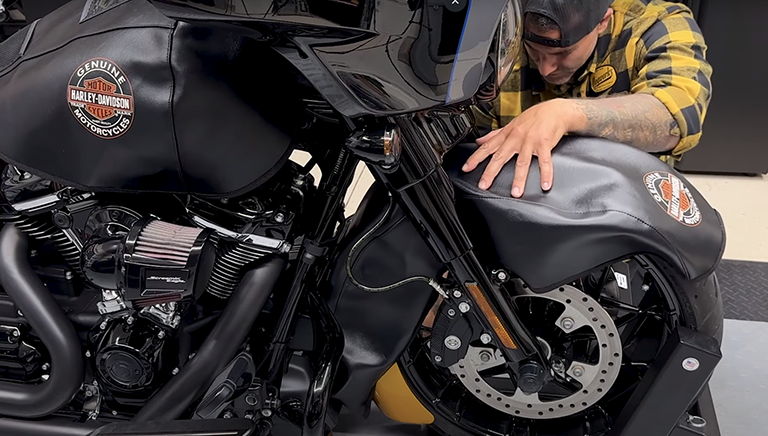
- Cover up the tank and the front fender to