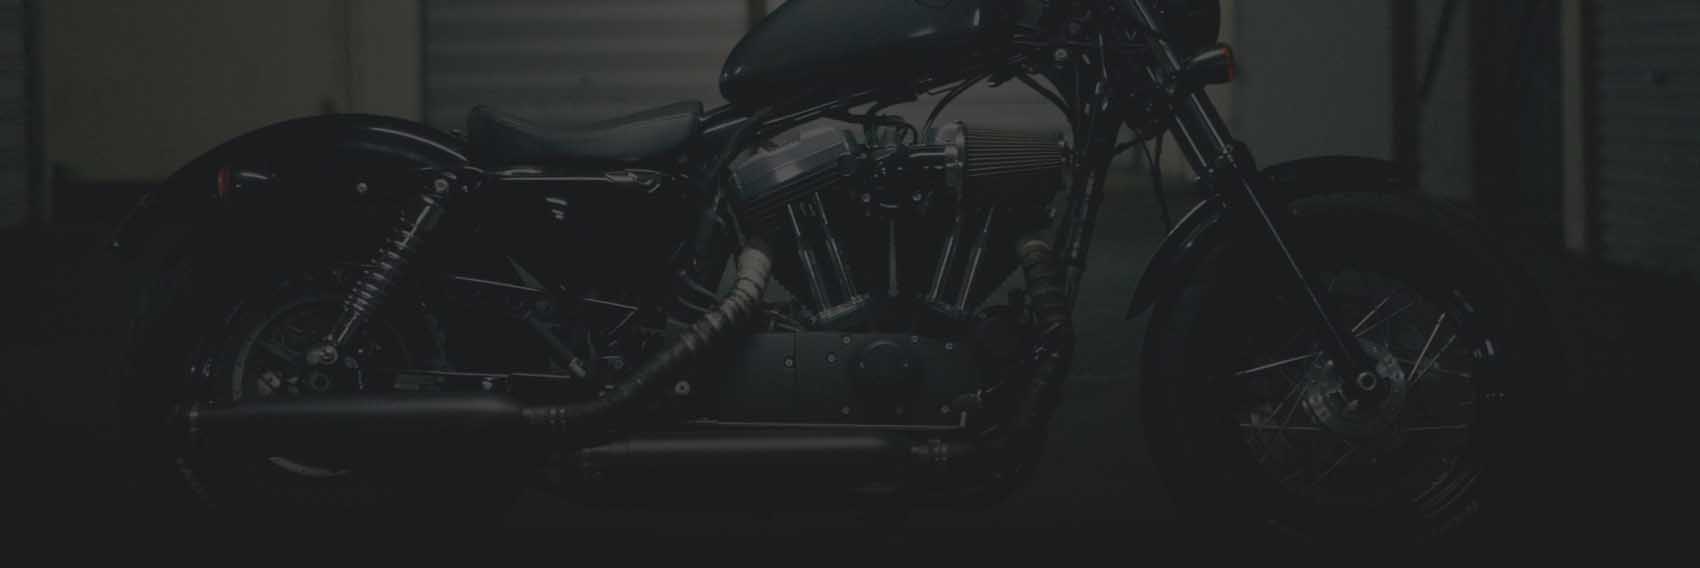
The EL DORADO PROJECT
Welcome to the El Dorado Gold Color Swap Series! Follow along as we witness the remarkable transformation of a 2021 Harley Street Glide Special, stepping up from its stock appearance and into the stunning El Dorado Gold.
Imagine a black and gray Street Glide Special, blending in with the countless other bikes on the road. Now, picture that very motorcycle undergoing a mesmerizing change, shedding its basic paint scheme, and emerging as a gleaming masterpiece that captures attention wherever it roams. This simple change of color unlocks a whole new realm of style, individuality, and undeniable allure.
At HOGWORKZ, we believe in pushing boundaries and surpassing expectations. The stock appearance of this bike is already pretty good. However, we’re not happy with pretty good, were looking for F*&^ing AMAZING! That’s why we've kicked off the EL Dorado Project, a complete color swap from top to bottom. Every aspect, including accessories, bars, exhaust, and more! All parts of this bike will undergo a dramatic transformation.
Owning a Harley is all about the freedom of expression and the ability to customize your ride. What better way to add a truly unique touch than with a custom color? We enlisted the talented Jasmine to mix up a captivating gold hue that would make this bike truly stand out.
After Jasmine worked her magic, we turned to the passionate community of the WE RIDE HOGWORKZ Facebook Group for help in naming the color. While the original winner was "Honey Pearl Slather: Liquid Gold," we decided to go with our favorite suggestion from customer comments—El Dorado Gold. This name resonated with us and perfectly encapsulated the incredible shade Jasmine had crafted.
Be sure to follow along with our color swap and catch the latest installation videos every other Sunday on Raider World's YouTube Channel.
Get ready to witness the awe-inspiring El Dorado Gold Color Swap Series—it's a ride you won't want to miss!
Here's the first video in the series, featuring a front fender swap. See how easy it is to add a wrapped front fender to your ride! Hopefully the ease of this install will provide some inspiration for your own customizations. Watch the video above, or check out our step by step guide below!
Tools Needed

Step 1: Removing the Stock Front Fender

- The stock front fender has two screws on each side that need to be loosened.
- Start loosening the screws with the appropriate tools, making sure to not unscrew them completely yet.

- Support the front fender while loosening to prevent damage.
Step 2: Preparing for Front Fender Installation

- Orient the HOGWORKZ wrap-around front fender correctly, with the longer end facing the rear.
- Temporarily rest the wrap fender on the tire to prepare for installation.

- Install two screws from the HOGWORKZ fender on one side to support it while working on the other side.
Step 3: Installing the Wrap Fender

- Take one screw and washer from the HOGWORKZ fender and insert them into the designated holes on one side.

- Slide the spacer through the designated area on the fender.

- Insert the screw through the spacer and secure it with a locking nut.

- Use the six-millimeter hex bit and 13-millimeter wrench to tighten the screws firmly.

- Repeat the same process on the other side of the wrap fender.
Step 4: Ensuring Proper Fitment

- Check the alignment and fitment of the HOGWORKZ wrap fender to ensure it's properly installed.
Step 5: Final Adjustments
- Check the alignment and fitment of the HOGWORKZ wrap fender to ensure it's properly installed.
Step 6: Tightening the Screws
- Double-check that all screws are securely tightened.


