Harley 7" LED Headlight Install from HOGWORKZ®(Fits Touring, Softail & more!)
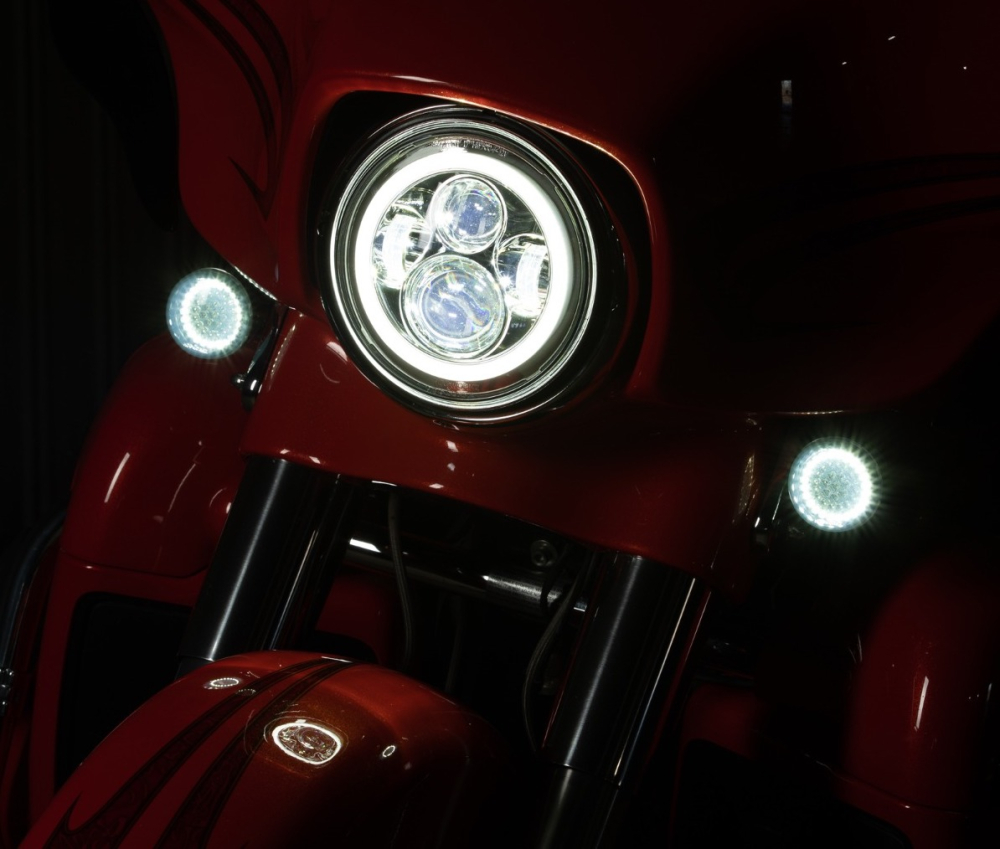
Light up the road with our 7" HALOMAKER® LED Headlight Kit. Increase visibility, safety, and style with a pure white, road tested projection LED setup. Plug & Play on '94+ Touring Models.
Brighter. Clearer. Safer.
Includes all parts required for installation!
Simply install the included Wire Harness (HW131132) for '14+ Touring Models, or install the included Headlight Bracket (HW131383) for '94-'13 Touring Models.
Buzz Free Anti-Interference Design There is no shortage of cheap LED solutions, but saving a penny might net you a buzzing headlight that cripples your bike's radio signal. HOGWORKZ specifically designed their 7" LED Headlights to use anti-interference electronics and passive (no hum) cooling. Gain the full advantage of an LED Headlight without losing a radio signal.
1. Prepare the Motorcycle:
- Remember to cover your fender to prevent scratches during installation.

2. Remove the OEM Trim Ring:
- Remove the OEM trim ring by unscrewing the screw located at the bottom of the ring.

3. Remove the OEM Headlight Mounting Bracket:
- Remove the OEM headlight mounting bracket. This bracket is secured by four Torx screws located around the perimeter of the light.
- For 94-13’ touring model only: Replace the OEM bracket with the HOGWORKZ mounting bracket.

4. Connect the Hogworks Halomaker Headlight:
- Connect the Hogworks Halomaker headlight to the factory harness.
- Secure the headlight with the retainer ring.
- Locate the two-plug connector harness attached to the OEM light.
- Remove this harness, exposing the four-pin connector harness.
- Plug in the supplied Hogworks adapter harness to complete the connection.
- Locate the three adjustment screws around the perimeter of the headlight.
- Tighten each of these screws three turns clockwise to properly align the light.
- Secure the OEM trim ring back into place by tightening the screw at the bottom of the ring.
For 14’ & newer touring models only:
5. Adjust the Headlight: