HOGWORKZ® HALOMAKER® LED Front & Rear Turn Signals for Harley-Davidson® | 1157 Base, Bullet Lens
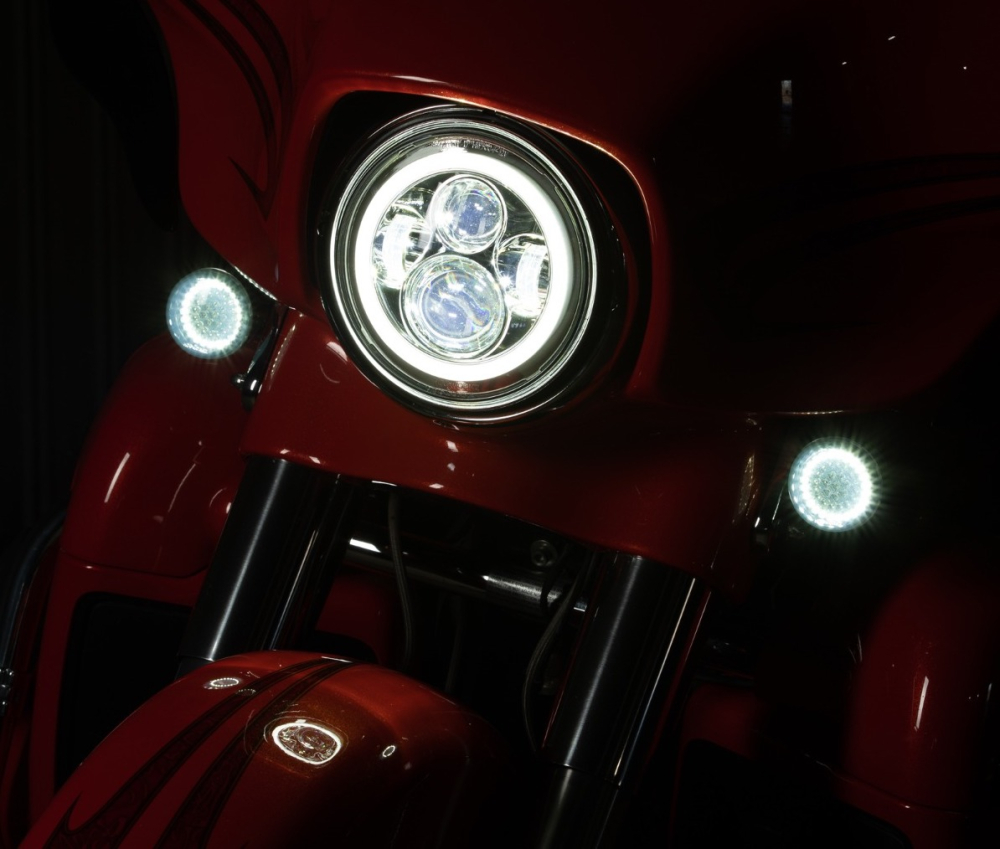
HOGWORKZ® Halomaker® LED front turn signals are extremely bright, as well as plug and play for any Harley-Davidson® with 2" bullet style signals and 1157 (dual contact) signal bases! They feature an ultra intense white halo DRL, combined with amber directionals and are sure to get you seen! Get rid of those dim, stock incandescent bulbs and upgrade your ride today! Backed by our Lifetime Warranty, these are the last turn signals you'll need to purchase!
Part 1: Halomaker LED Turn Signal Installation (Front and Rear)

1. Remove OEM Lens Cover:
- Using a flathead screwdriver, carefully remove the OEM lens cover from the turn signal housing.

2. Remove OEM Bulb:
- Turn the OEM bulb counterclockwise to remove it from the socket.

3. Insert Halomaker LED Signal:
- Insert the Hogworks Halomaker LED turn signal insert into the bulb socket.
4. Install Supplied Lens Cover:
- Attach the supplied lens cover to the turn signal housing, securing it properly.
Part 2: The Works LED Load Balancer Kit Installation (For Older Models)

1. Access Rear Signal Harness:
- Depending on your motorcycle's make and model, you'll need to access the rear signal harness. This may require removing a side cover or the seat.

2. Disconnect Factory Harness:
- Disconnect the rear signal harness from the factory harness.

3. Select Matching Adapter Harness:
- Choose the adapter harness from the Hogworks load balancer kit that matches your bike's factory harness connectors.

4. Plug in Load Balancer Kit:
- Plug the Hogworks load balancer kit adapter harness in between the disconnected factory harness and the rear signal harness.

5. Set Current Setting:
- The load balancer has a high and low current setting, adjust this setting as needed.