HOGWORKZ® Low Profile Tank Topper™ Dash Console for Harley-Davidson® Touring '08-'25
The HOGWORKZ® color matched Tank Topper™️ Dash Console is a stylish and innovative accessory designed to enhance the appearance of your motorcycle's tank without the need for a stretched tank. It features a unique design that seamlessly blends with the contours of the tank, giving your bike a custom look.
This dash console serves as a direct replacement for the factory dash panel, making installation hassle-free. You can easily attach it using the existing mounts, eliminating the need for any modifications. The package includes all the necessary mounting hardware, ensuring a convenient setup process.
Moreover, the HOGWORKZ® Tank Topper™️ Dash Console offers a choice between chrome and black finishes, allowing you to personalize the appearance of your bike according to your preferences. Additionally, it provides the option for a flush mount pop-up gas cap, which adds functionality and convenience to your motorcycle.
With its unique design, easy installation, and customizable features, the HOGWORKZ® Tank Topper™️ Dash Console is an excellent accessory for riders looking to give their bike a custom touch without having to opt for a stretched tank.
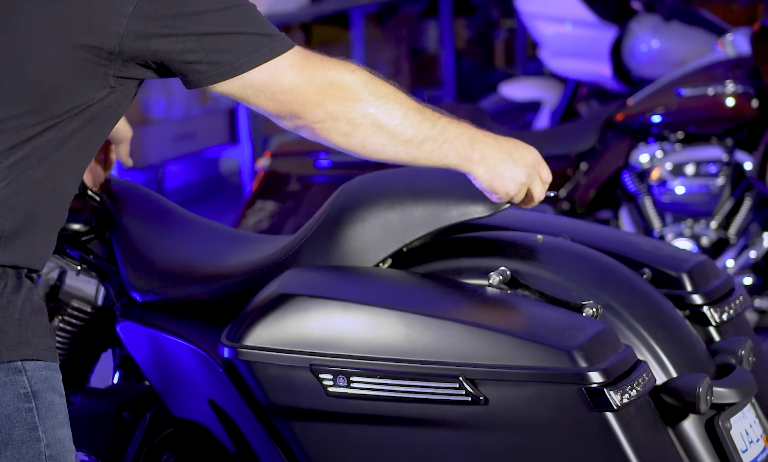
1. Remove Your Seat:
- Start by removing your motorcycle seat. This will give you better access to the tank dash.
2. Remove the OEM Tank Dash:
- Locate the rear bracket of the OEM tank dash. Use your 10mm socket to remove the screw holding it in place.
- Find the front screw near the key. Use your 5/32" Allen wrench to remove this screw. You might need to move your key slightly to access it.
- Carefully remove your OEM gas cap.
- Peel back the OEM dash to reveal two clips holding wires and an overflow hose underneath.
- Remove the overflow hose (also known as the breather hose). Your new pop-up gas cap has a built-in vent, so this hose is no longer needed.
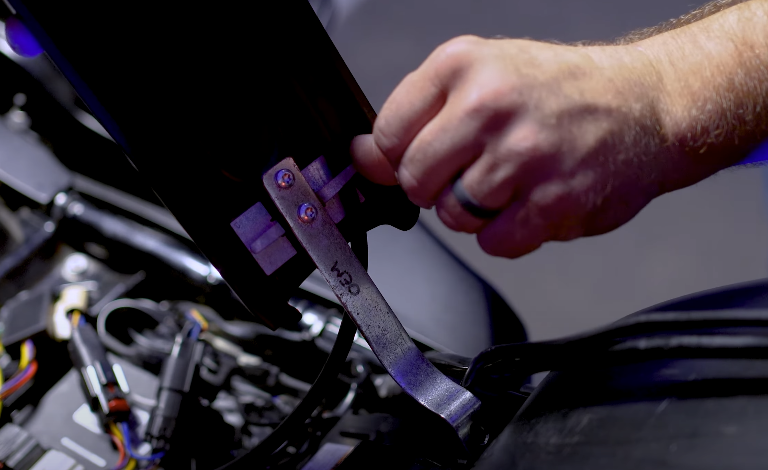
3. Reuse the OEM Bracket:
- Locate the OEM bracket on the underside of your old tank dash.
- Using a T25 Torx socket, remove the two screws holding this bracket.
- Discard these T25 screws. You'll use new hardware with your new tank topper.
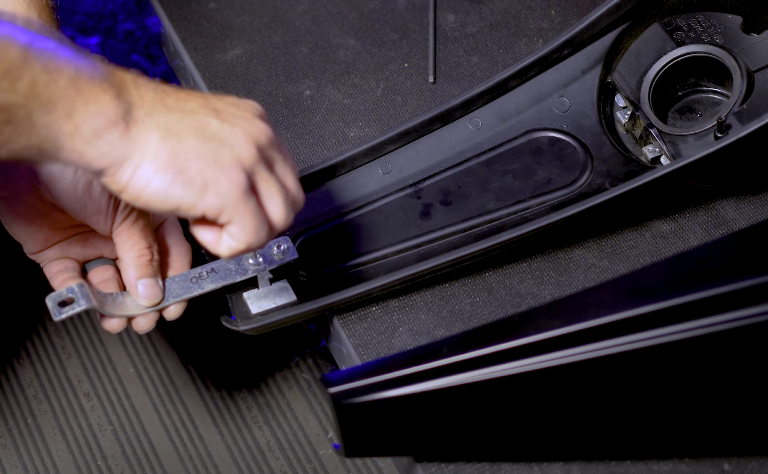
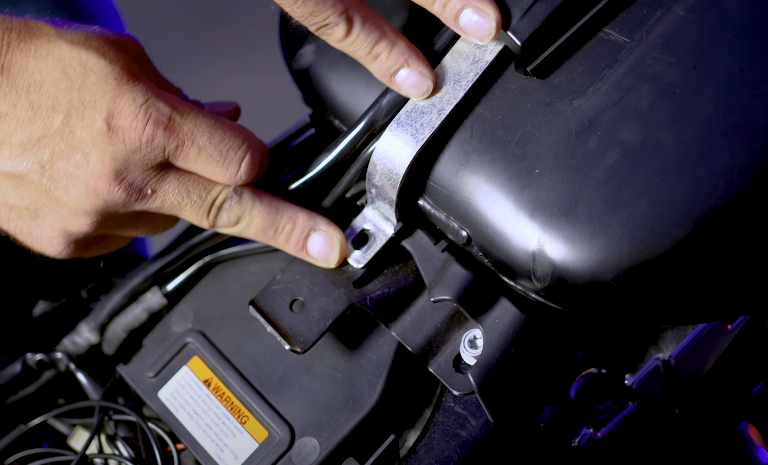
4. Mount the OEM Bracket to Your New Tank Topper:
- Take the OEM bracket you just removed.
- Align it with your new HogWorkz Tank Topper.
- Using two of the supplied screws from your new kit and an 1/8" Allen wrench, securely mount the OEM bracket to the underside of your new tank topper.
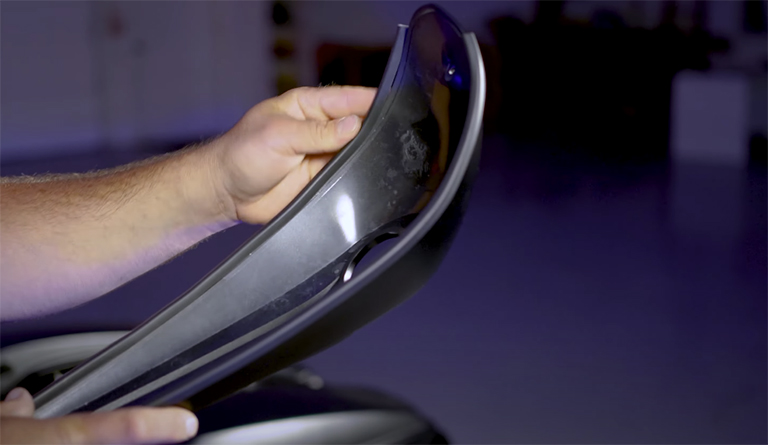
5. Install Gaskets:
- Take the two supplied gaskets.
- Install them into the grooves on the underside of your new tank topper, starting from the bottom. These gaskets protect your tank from any rubbing.
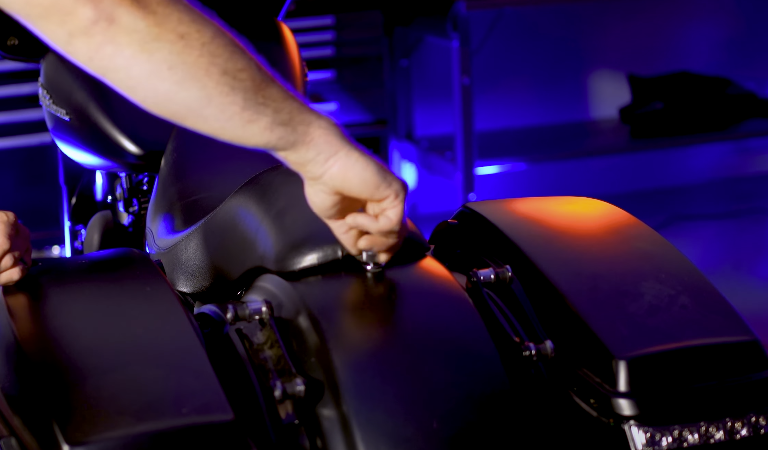
6. Mount Your New Tank Topper:
- Position your new tank topper over the gas filler neck, ensuring the front hole aligns.
- Take the supplied screw with a washer (this goes in the front). Use your 1/8" Allen wrench to thread and tighten this screw into place.
- Reuse your 10mm screw to remount the bracket at the back of the tank topper.
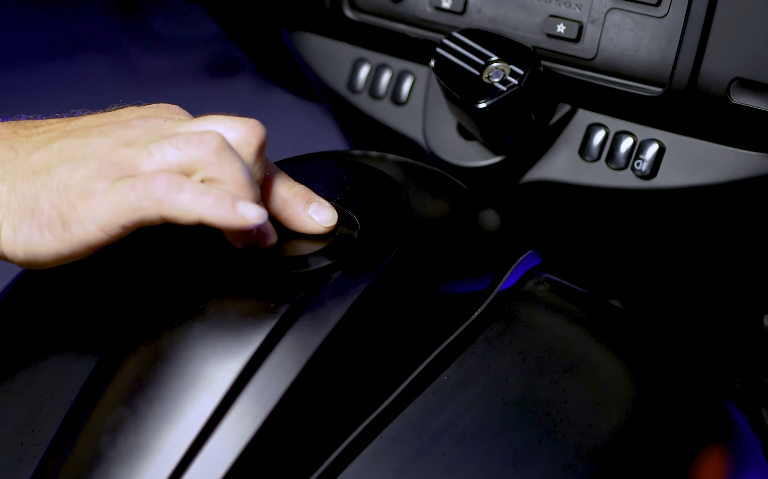
7. Screw in the Pop-Up Gas Cap:
- Take your new pop-up gas cap.
- Thread it into the gas filler neck until it's tight.
- To operate the pop-up function, press down on the cap with two fingers and give it about a half-turn. This will pop it up.
8. Reinstall Your Seat:
- Finally, reinstall your motorcycle seat to complete the installation.
